Build a PKI with XCA
Spoiler: Because the creation of certificates is rather complex, I prefer to use more intuitive graphical tools. Today I'm showing you how to create a Certificate Authority (CA) and a web server certificate with XCA. After installing XCA and creating a specific database, we will create two certificates (one for the root and one for the server). Bonus, we also show you how to export certificates and keys.
Whether it is to administer my own services or to test secure communications (i.e. HTTPS,SAML, ...), we always must create certificates, and the corresponding PKI.
I don’t know about you, but it’s not really my favorite step. I don't find the documentation or the use of openssl (1) particularly pleasant so, without any shame, I prefer graphical solutions...
Before starting
Install XCA
XCA is my favorite GUI application for managing my PKIs. It allows to create keys, certificates and signature requests very intuitively. And in the end, to export everything easily.
The download page has everything you need to get the app:
- A Windows executable to install it,
- A portable archive to run it on Windows without installing it,
- A package for Mac users,
- An archive containing the source code if you want to compile it yourself.
Under Linux, most distributions have an installable xca package. On Debian, Ubuntu and its derivatives, the package is available by default.
sudo apt-get install xcaFor Red Hat, Centos and its derivatives, you will first need to install the additional repositories (EPEL) but once done,xca is available in one line:
sudo yum install xcaCreate a Database
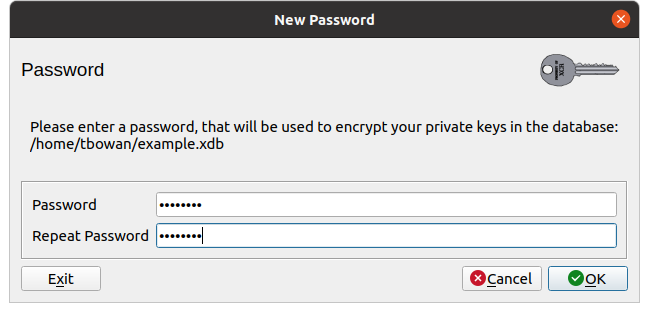
To store your certificates, and especially your private keys, xca uses a specific encrypted file that you therefore need to create.
To do this, go to the File / New DataBase menu, choose the location of your file, give it a name and save. The next screen asks you to enter a password to secure your file.
Create the CA
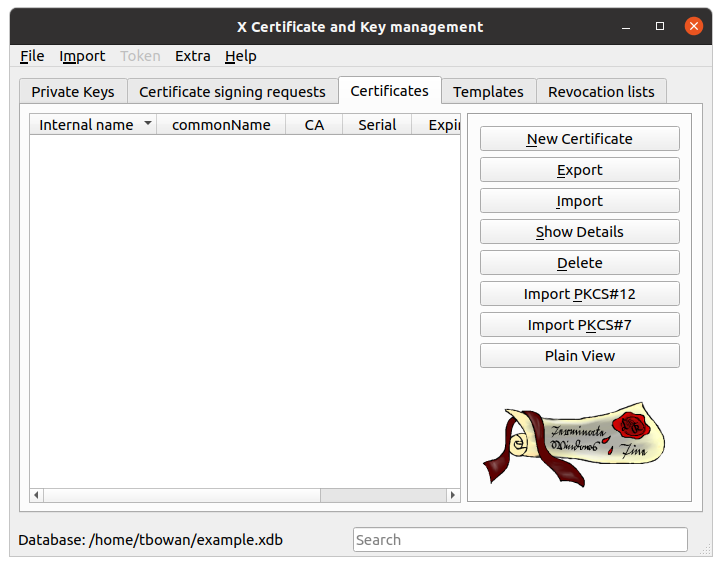
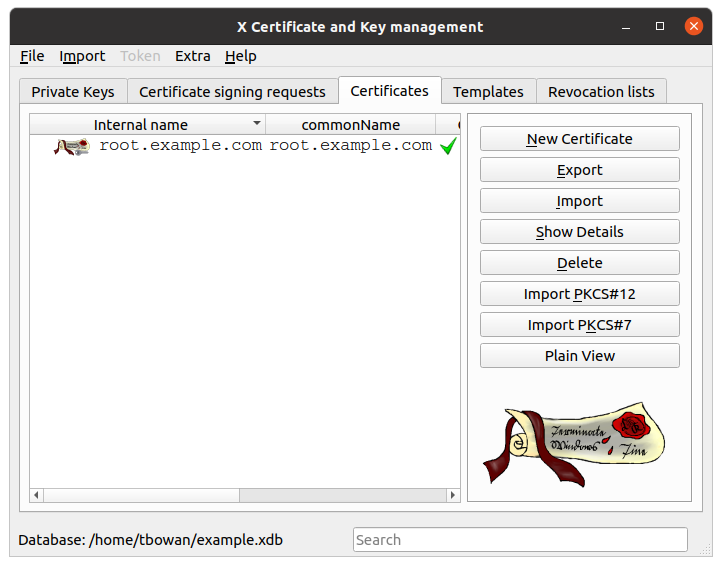
Unsurprisingly, the first thing to create is the CA, which will be used to sign our other certificates. And for that, we go to the certificates tab and click on the New Certificate button.
Source
xca will open a new window allowing you to finely configure the certificate. Here we are only going to configure the minimum through two of the tabs, source and sujet.
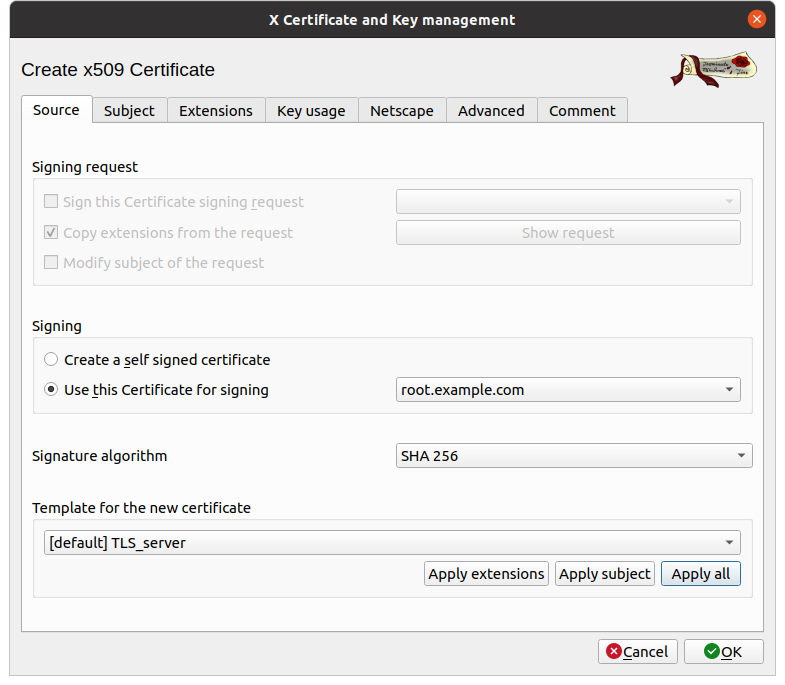
The Source tab, open by default, allows you to configure the type of certificate as follows:
- Sign: let create a self-signed certificate,
- Signature algorithm: we leave SHA 256,
- Template for the new certificate: choose _ [Default] CA_, and click on the apply all button.
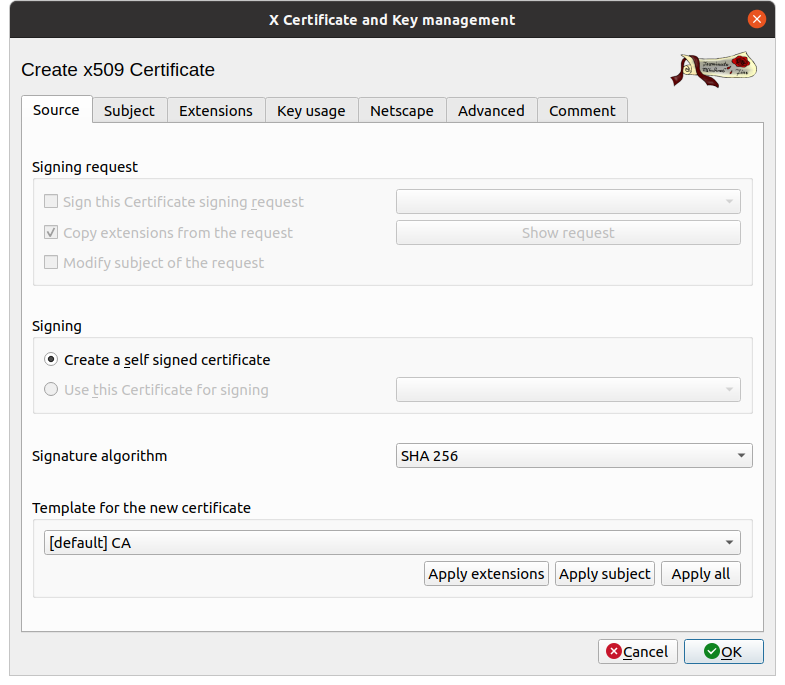
I strongly recommend that you then click on the Apply All button. This will simplify the following steps for you like extensions, key usage and other tabs. If you know what you are doing, you can also configure all of these things manually.
Subject
The second tab is used to configure the subject, that is to say the identity card of the certificate. If you are creating a PKI for testing, only the following two fields are important:
- Internal Name: which is used for display in
xca, - commonName: which is the name of the certificate and identifies it in all other applications.
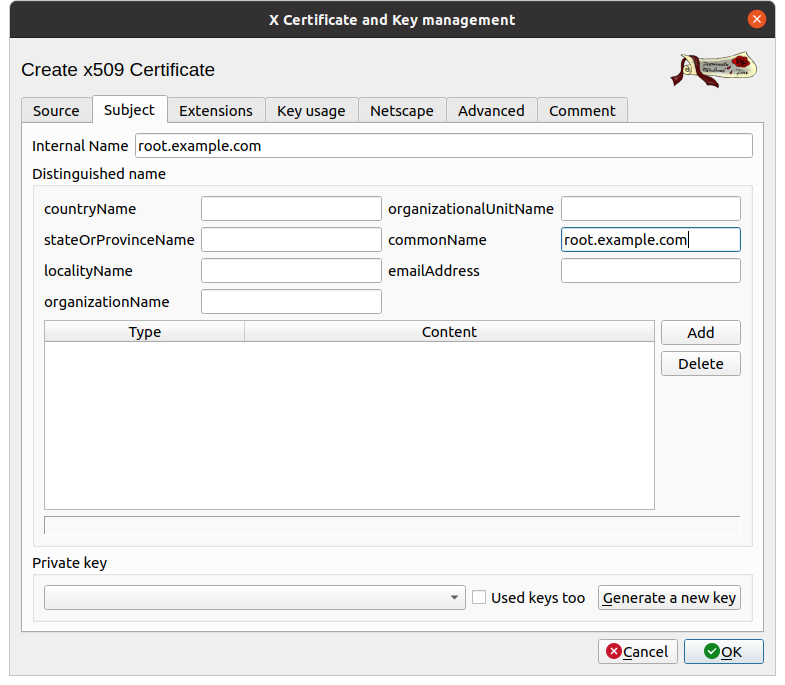
The other fields are for informational purposes only (detail the identity of the owner of the certificate). They are mandatory when you want to have a certificate signed by an authority, but as you create your own, do as you prefer.
Either way, be sure to provide a private key. For that, simply click on the button Generate a new key.
A pop-up will open asking for details:
- Name: used in
xcato list it, personally, I leave the cn of the certificate, - Keytype: asymmetric algorithm for which the key is used, the default,
RSA, matches most cases, - Keysize: the default value is a little exceeded, the ANSSI recommends 30721 bits, so let's choose 4096.
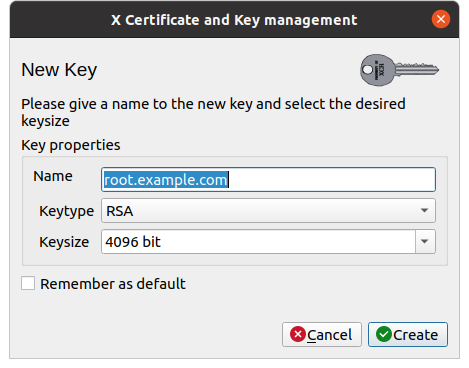
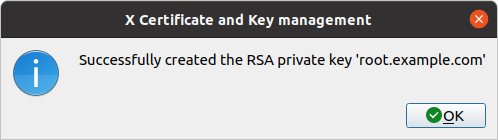
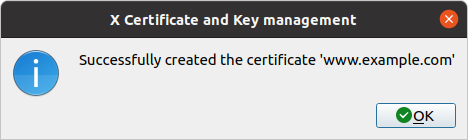
Click on Create and after a short delay, XCA will inform you that it was successful.
In our case, we don't need to configure the other tabs, so we click on OK.

Create the server certificate
Assuming that you want to create your PKI for a server (i.e. web), we can switch to the server certificate.
Back in the certificates screen, we click on New Certificate.
Source
We find the same window as before but this time, we are going to change some parameters.
- Sign: choose use this certificate to sign then choose your CA,
root.example.com - Template for the new certificate: choose [Default] HTTPS_server and click on the apply all button.
Again, I advise you to click on Apply all, which will avoid configuring the following tabs.
Subject
As before, we continue with the identity card of the certificate in the Subject tab.
- Internal Name: as before, it is only used for display.
- CommonName2: must match the hostname of your web server, for example
www.example.com.
The other fields are for informational purposes and are only important if you want to have your certificate signed by a certification authority. The authority will use those date to check your identity and sign your certificate. Here, since we are creating our own PKI, these fields will have no impact.

As before, you must also Generate a new private key.
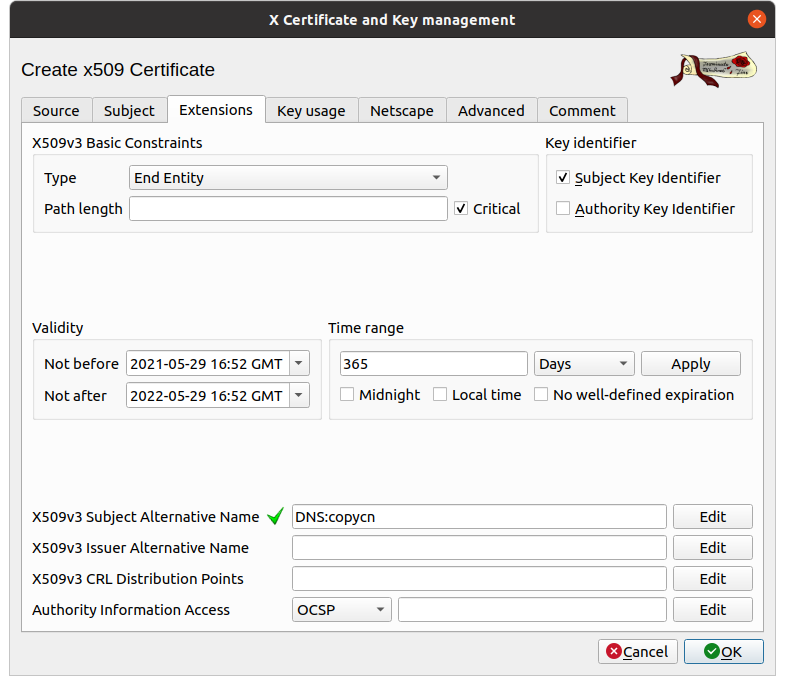
Extensions
As we discussed previously, recent browsers no longer rely on CommonName (CN) but on the Subject Alternative Name (SAN) extension to check that the certificate received matches the website.
If your certificate is only created for one domain, XCA has already copied the CN in the SAN extension, so you don't have to add anything and can skip this whole step.
If your server is configured to respond to multiple domains (i.e. example.com - for users who forget the www), you need to add it specifically.
- X509v3 Subject Alternative Name: to configure it, click on Modify.
xca then opens a pop-up that allows us to add the extensions. Here we are only going to add one DNS entry, but depending on your situation, you can put more than one, including IP addresses.
- Type: choose DNS
- Content: put your domain name (i.e.
example.com).
Notice the checked box at the top right "Copy common name" which, as the name suggests, copies the CommonName, saving you from having to add it manually.
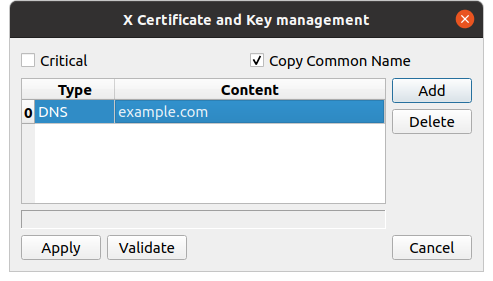
Click on Apply to take the extension into account.
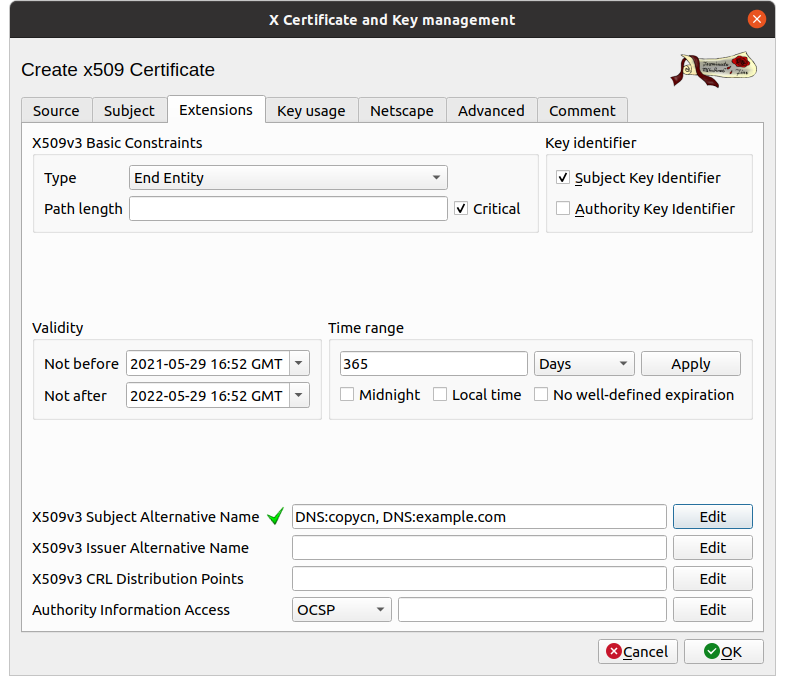
Since we don't need any additional settings for this certificate, click on ok.
Export
At this point, the certificates and keys only exist in the xca database that you created. It is therefore time to export them to be able to include them in your software.
Certificates
From the application, in the Certificates tab, click on the Export button.
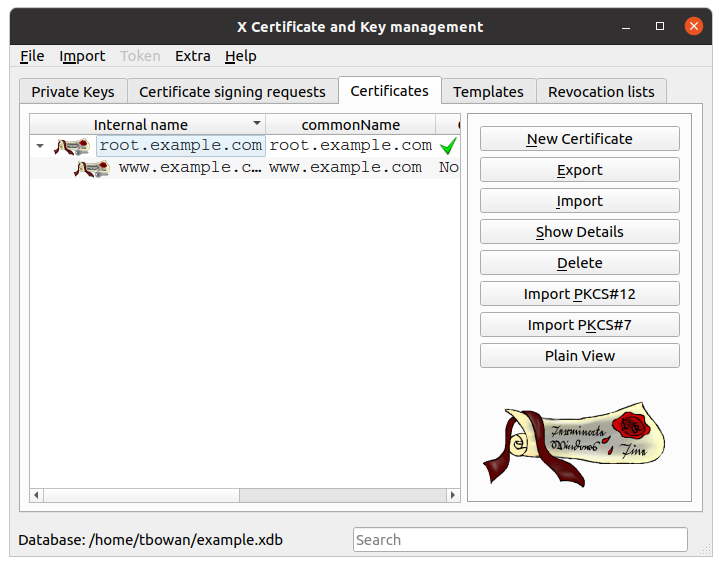
xca opens a popup which asks you for some parameters for the export:
- File name: the default value is surely already suitable but you can choose another file. Even if softwares do not make any difference, I advise you to keep a
.crtextension. - Export Format: Unless you have very specific needs, and in that case you will know what you are doing, leave as is,
PEM (* .crt).
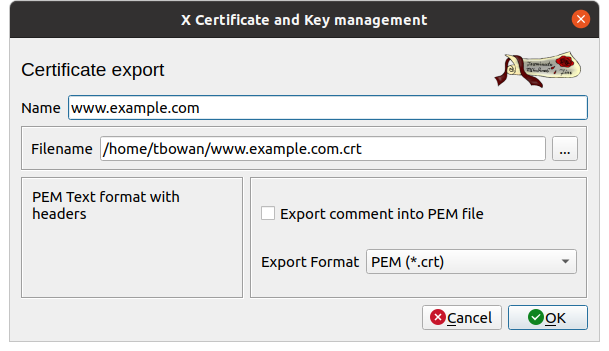
Then click on OK so xca will export your certificate to the file.
The keys
From the application, in the Private keys tab, click on the Export button.
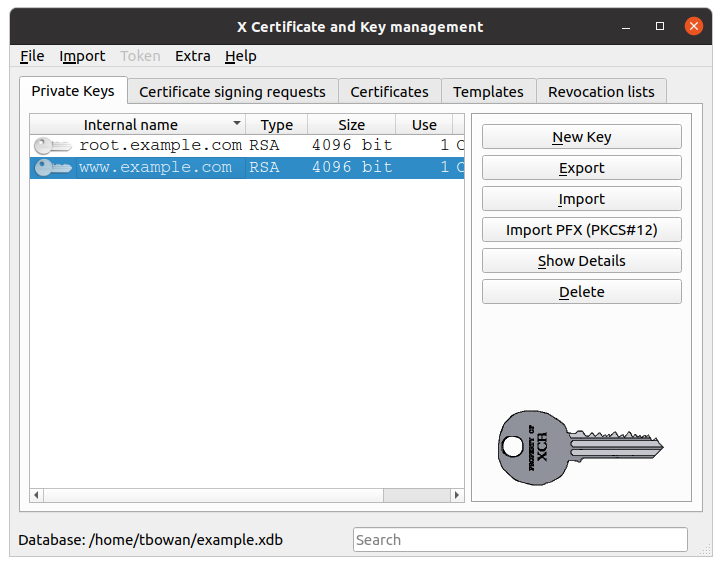
As before, xca will open a pop-up to customize the export.
- Filename: the default is already set, but personally I prefer to change the extension to
.key(so everyone knows it's a key). - Export format: unless you have very specific needs, and in that case you will know what you are doing, leave as is,
PEM (* .pem).
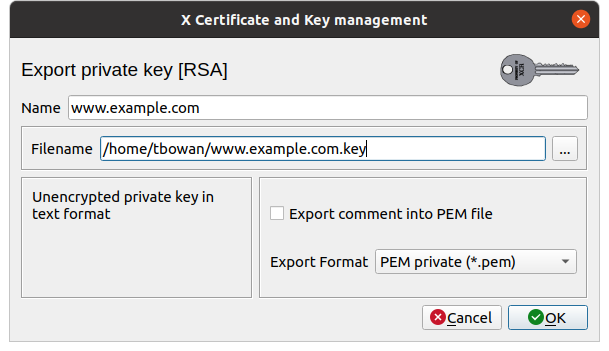
Then click on OK so xca will export your private key to the file.
This file must be stored securely because anyone who reads it can spoof you (sign their own certificates, intercept your communications, and so on).
And after ?
Here you are the proud owner of your own Certification Authority (your root certificate and its private key) which allowed you to sign the certificate of a web server. You can repeat this operation to populate your PKI with more and more certificates.
To use it, all you have to do is deploy the exported files:
- The CA on all the stations of your network, as well as at your customers, partners and other relations which would need to communicate with your server,
- The server certificate and key on it and since you have deployed the CA everywhere else, there is nothing more to do.
If you want to make a backup, the most practical is still to save the database file. And if you specifically want to back up a certificate and its key, export both in PKCS .p12 format.