Configuration du serveur SIP VitalPBX
Spoiler: Now that our analog lines are managed by a gateway, we must interconnect it with our IP telephones. For this, we will install a SIP server, VitalPBX, to register and communicate all our equipment. The installation of VitalPBX is done via an iso file available on their site. It installs like any Centos. The configuration is done via a web interface, on which you must configure the extensions and the trunks.
This article was written for version 2.3. We have since installed version 3.0 and completed with the few changes.
As we have already discussed, we have two internet connexions, so two phones accesses that we have connected our analog gateway HX4G. Now that it is configured, we need the VoIP server to be able to connect our IP telephones and our soft-phones to it.

For the most curious, here is how we installed and configured this system so that our IP phones can communicate with each other, with the outside world and can receive incoming calls.
Installation of the PBX
There is a wide choice of PBXs on the internet. After looking at Wikipedia, we chosd trixbox, but then realized that it hadn’t been maintained since 2012.
After considering elastix (but between us, we had no desire to be contacted by 3CX sales people), 3CX (idem) and tested some others like FreePBX, Xivo, Wazo and Issabel, we took a look at the forks of elastix just before its takeover. We then found VitalPBX, which “miracle !”, did not ask us for our phone number to prospect us, was maintained and seemed to meet our expectations.
Here we will install version 2.1.1-1, based on CentOS 7.5.1804 and Asterisk 13.23.1. The process is very simple, just download the installation iso and start your machine on this disk image (or DVD on which it is engraved).
First connection
VitalPBX uses a web administration interface in HTTP and HTTPS. You must therefore start by obtaining its IP address (via a shell on the machine, the list of DHCP leases or why not a network scan).
It is possible to force the HTTPS connection (via Admin / HTTP Server and by clicking on the corresponding button). You can then install your own certificate.
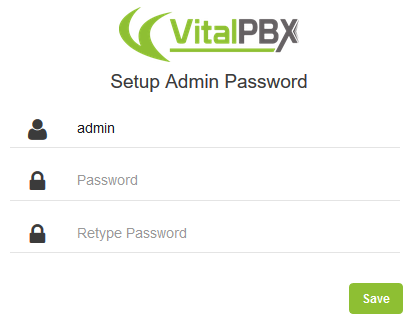
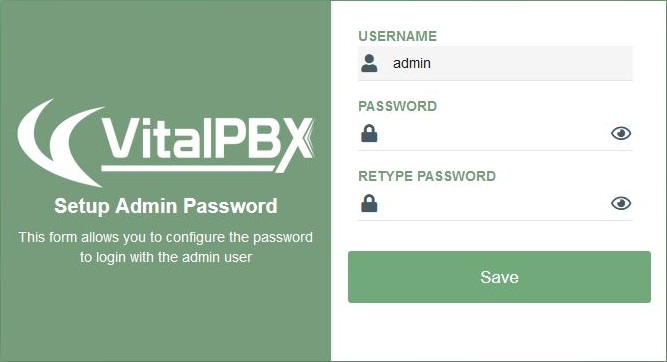
Creation of the super user
The first thing to do is to configure the administrator password of the web interface. This is requested at the first connection.
During subsequent connections, authentication will only be requested
after clicking on one of the modules (or on the login
button).
Registration pop-up
After logging in, a pop-up will automatically appear to activate the software. The system informs us that if we register, we can use the GUI to update it (instead of using the command line). The real advantage being in fact to eliminate this pop-up.
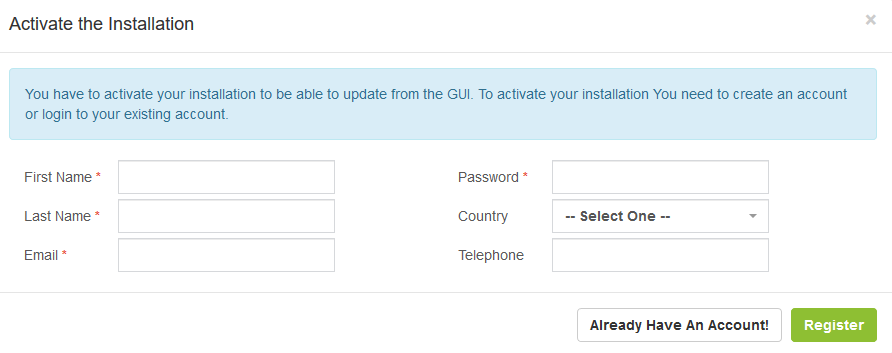
Anyway, we found a way to suppress this pop-up without having to register.
Location
The localization chosen during the installation via the iso (keyboard, time zone, …) is unfortunately not taken into account by VitalPBX and if you want your IPBX to behave perfectly native, it will have to be configured.
The web interface. The choice of the interface language is done via the user menu which has a Language entry.
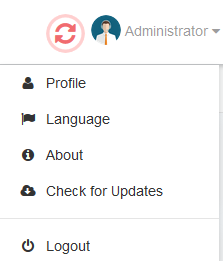
This menu opens a pop_up allowing us to choose the language.
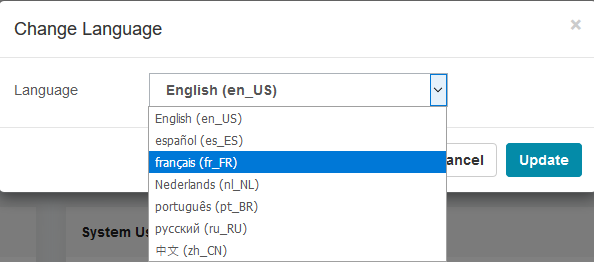
From here, the names of menus will therefore be in French.
The SIP protocol. The configuration takes place mainly in the Parameters / Technology settings / SIP settings. The following two parameters must then be configured:
- Language: concerns prompts and other voice messages, where we choose French (fr)
- Tone area: concerns the tones used on the lines, where we choose (fr) France
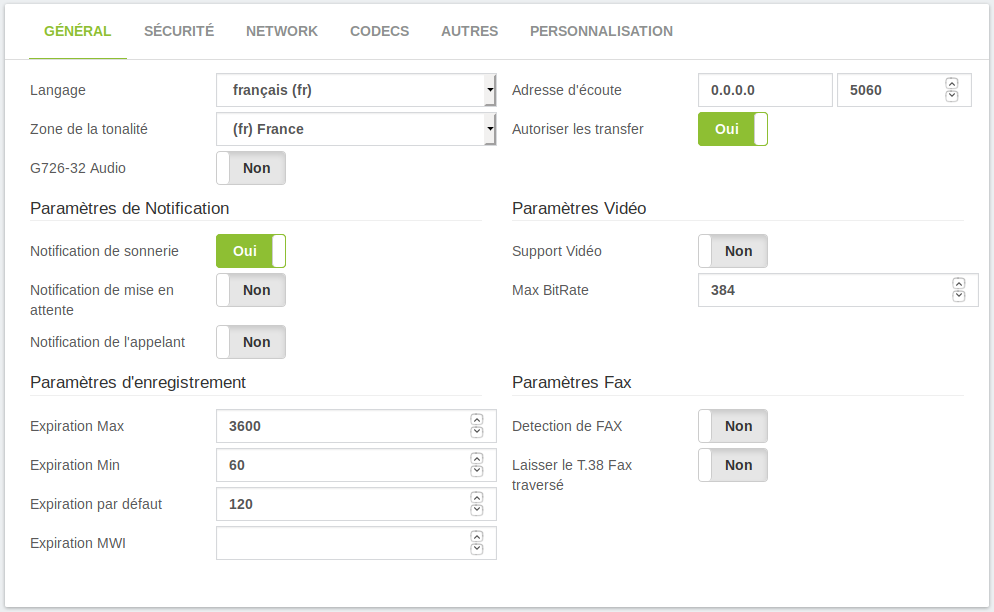
To apply the change, you must first save the configuration (button
save) then reload it (button with two red arrows
at the top).
Extensions. Since extensions can override the language used, it is useful to specify that by default, when creating them, the same settings must be used as for SIP, this time it is via Parameters. / PBX Settings / General System.
You must then change the Default Language parameter (not translated) and choose French.
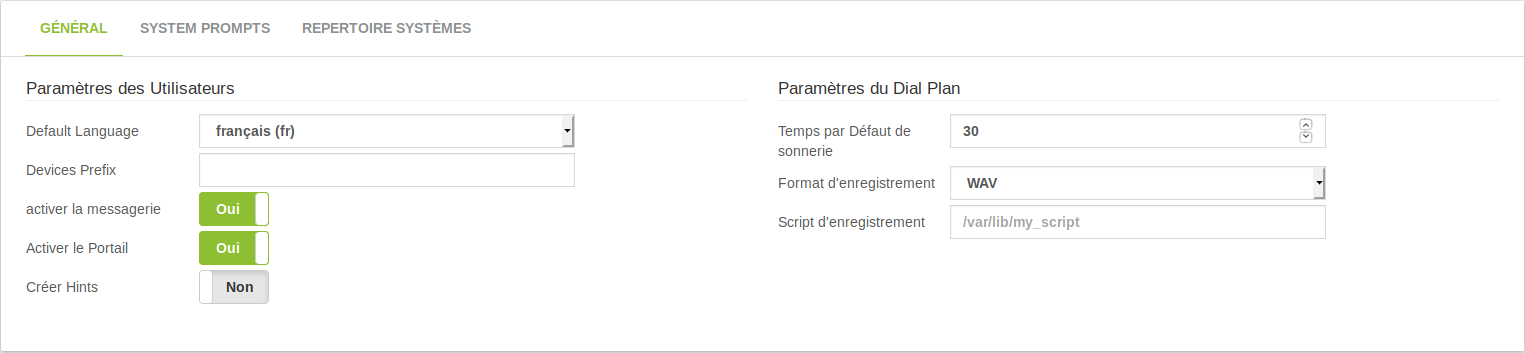
Again, you have to save the configuration and then reload it.
Telephony configuration
Now that the system is operational, we will be able to configure the telephony itself.
Internal calls
In SIP terminology, endpoints are called extensions. In our case, we have 3 IP phones, 2 analog phones connected to our HX4G and two smartphones with a SIP client application.
The two external lines (FXO ports) can be configured as extensions. But in doing so, VitalPBX will consider that the calls come from these extensions (and not from external numbers) which will prevent the number of the contact calling you from being displayed correctly.
We have defined a numbering plan taking into account these 7 telephones. To create the corresponding extensions in VitalPBX, go to the PBX / Extensions menu.
In order to create an extension, you must fill in the following fields:
- Extension: this is the number corresponding to the phone in the numbering plan,
- Name: this is the short name you gave to the phone, sometimes more practical to remember and understand,
- E-mail address: Associated address to send files to (e.g. voicemail),
- Equipment:
- Username: is automatically updated with the previous name,
- Password: password allowing the phone to authenticate itself.
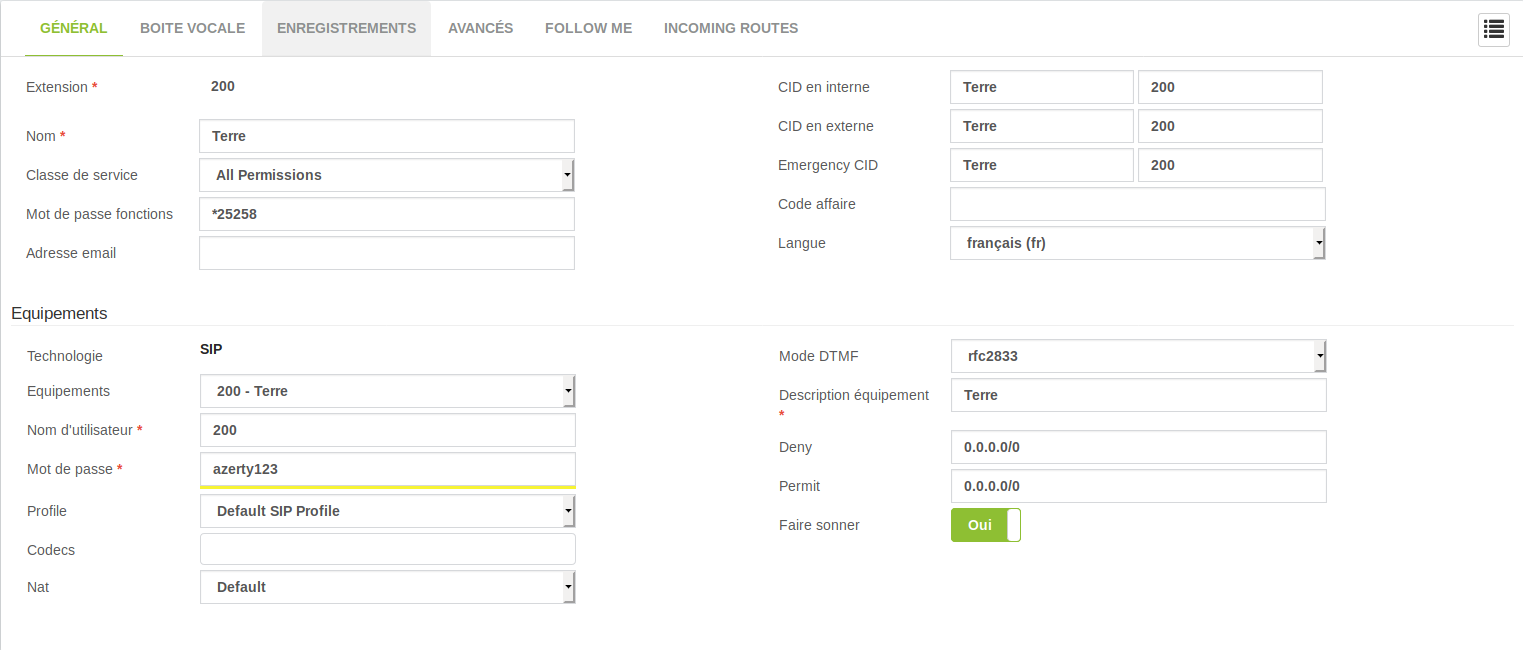
Click on Save to add the extension. And as always, after
saving it, don’t forget to reload the configuration.
To see the list of extensions, click on the menu button at the top
right![]() you can then see all the extensions
created.
you can then see all the extensions
created.
At this point, all phones can communicate with each other internally. We will then take care of letting them out.
Outgoing calls
Added trunks
The trunks are the outputs through which you can call outwards, in our case, these are the FXO ports of the HX4G, one for each ISP’s box. The extension numbers corresponding to these outputs have been configured in the HX4G.
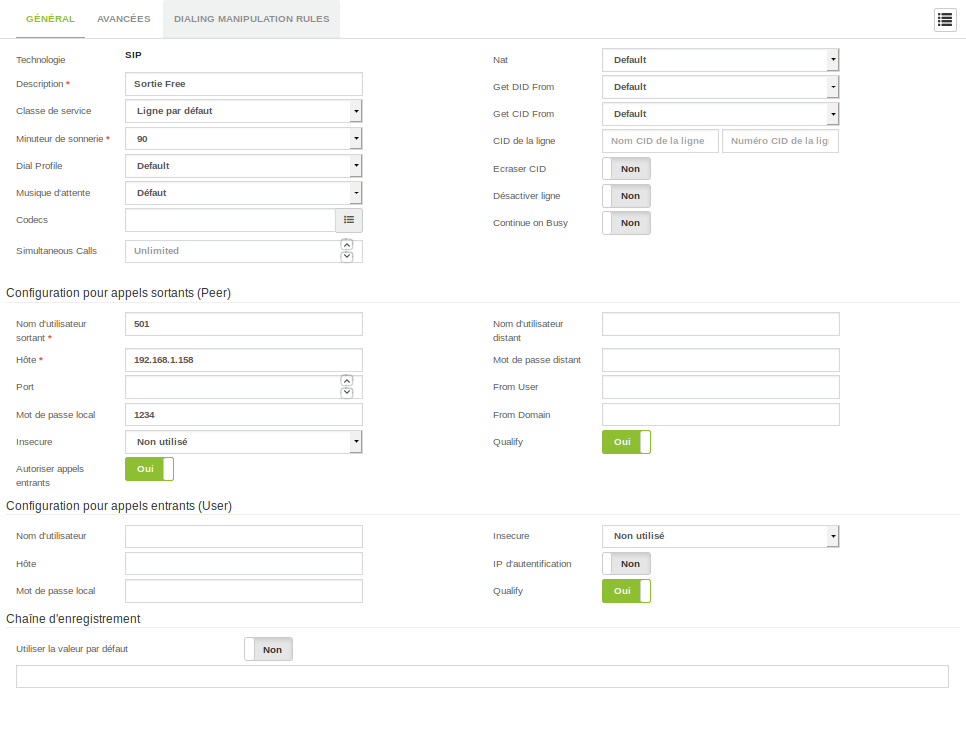
To take them into account, they must be added via the PBX / External / trunks menu and enter the following information:
- Description: description of the output, for example “output by free”
- Configuration for outgoing calls (Peer)
- Outgoing username: usernames configured on the HX4G,
- Host: IP address of the trunk, i.e. the IP of the HX4G box,
- Local password: password that the trunk uses to authenticate, also configured on the HX4G,
- Allow incoming calls: that we set to yes, it will be useful for later.
As for the extensions, it is possible to see the list of configured
trunks using the small menu button on the right![]() . Once saved, the configuration must be
reloaded.
. Once saved, the configuration must be
reloaded.
All this is not enough to really use the external lines, it is indeed necessary to configure outgoing and incoming routes.
Outbound Routes
Once the trunks have been configured, it is necessary to tell VitalPBX how to transfer external calls, those that do not correspond to any extension.
To do this, you must create an outbound route, via the PBX / External / Outbound Routes menu. The fields to be completed are as follows:
- Description: name of the road to recognize it, for example outside,
- Lines (trunks): the list of trunks and their order of use,
- Modes (schemes) of numbers: expression to filter the numbers concerned and manipulations to be made (adding / deleting a prefix).
Our case is very simple, everything is redirected to the HX4G, so we
only fill the Pattern with ..
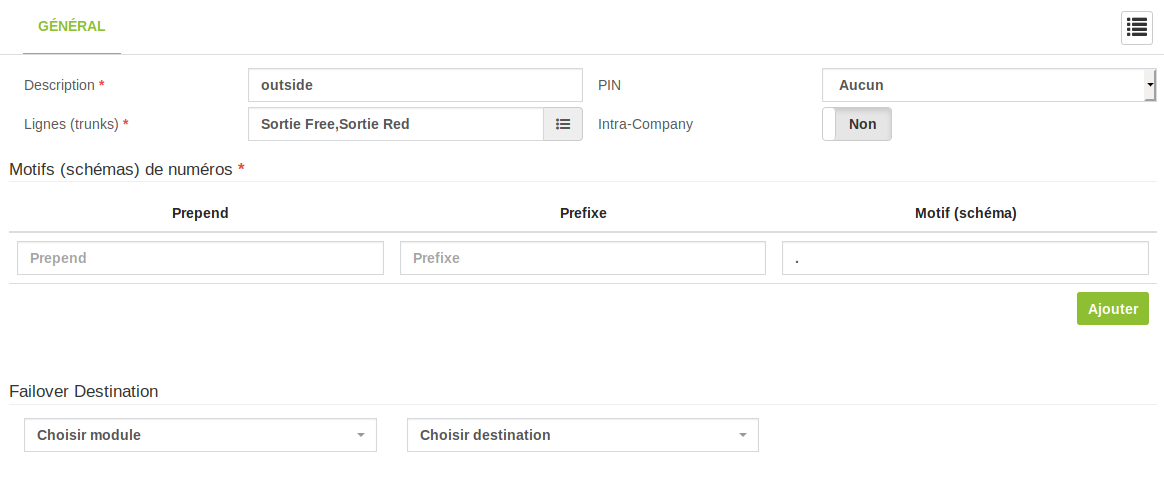
In version 3.0, the changes are minimal, there is a fourth column (CID Pattern) which we will not use (and the names of our outputs which have since changed).

Again, the small menu button to see everything we have configured
(![]() ). And reload the
configuration.
). And reload the
configuration.
The phones can then not only communicate with each other, but also go outside. We can now take care of incoming calls.
Incoming calls
Identifying Extensions
Before being able to use the trunks, it is necessary to adapt the behavior of Asterix to our installation, which has two trunks on the same machine, and therefore the same IP address.
Indeed, when receiving the call, Asterix will use the
from: field, containing the IP address, to determine which
user is making the call (i.e. which trunk). In our case,
Asterix will always find the same address, and therefore always the same
trunk (the first). For the second line, Asterix will consider that the
authentication (second trunk) does not match the extension of the call
(first trunk) and will issue an error, refusing to handle the call.
Our HX4G gateway allows the reuse of the same identifiers to authenticate all extensions, but VitalPBX refuses to use the same username for several trunks.
To solve this problem, you must modify the Asterix settings, via the
Params / Technology settings / SIP settings menu, in the
personalization tab. Click on Add then fill in the
two fields:
- Parameter: match_auth_username
- Value: yes
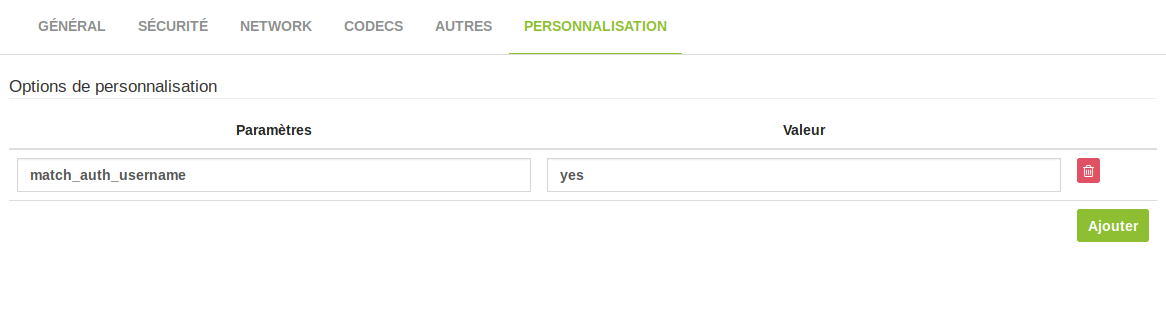
Now Asterix will be able to authenticate and assign calls to the correct line.
Inbound Routes
As the trunk lines are not extensions, the numbers dialed by
them (which will be called DID hereafter) do not arrive
spontaneously on the corresponding extensions. Whether it is the numbers
actually dialed by the correspondents (when the PBX is directly
connected to an FXO port), or the number used by our HX4G gateway (and
entered in its Number parameter of the trunks).
Even if the HX4G specifies that it wants to call the number 202 and this corresponds to an extension, the call comes from outside (i.e. does not come from an extension), so it will be refused.
Most SIP servers will require incoming routes to be
configured to specify which DIDs correspond to which
extensions. This is what is also recommended in the documentation of our
gateway. VitalPBX has the same type of screen as the others (PBX /
External / Outgoing Routes) but we are not going to use it
directly.
Indeed, it is possible to configure each extension to specify the
DID to which it corresponds. An incoming route
will then be created. The advantage of going through the extension is
that the rule will be associated with it directly.
To do this, you must go through PBX / Extensions/
Extensions. Then, via the menu icon ![]() ,
choose the extension that will receive the call and navigate to the
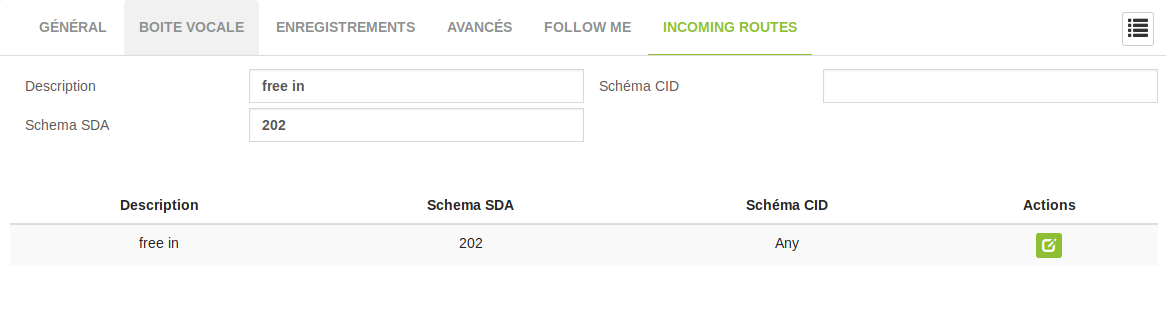
Incoming Routes tab. Then fill in the following fields:
,
choose the extension that will receive the call and navigate to the
Incoming Routes tab. Then fill in the following fields:
- Description: something that allows you to find her among the others,
- DID scheme: call destination number, usually the telephone number, but since we have the HX4G gateway, it is the Number parameter of the corresponding trunk.
- CID scheme: caller’s number if you want to make a more specific route depending on the sender (which is not our case).
You must then click on the Apply button to add this rule
and as usual, reload the configuration.
Going further
The VitalPBX configuration allowed us to interconnect all our equipment: the external and internal analog lines provided by the gateway on one side and our IP telephones on the other.
We haven’t talked about it, but the use of a SIP client on our smartphones (as well as the addition of a dedicated extension) allows them to use landline telephone lines (and therefore their pricing) for their calls.
In the end, we now have a modern phone network with all the features you would expect from it :-)