Experimental archeology, how to install a debian 1.3
Spoiler: In the footsteps of the giants: To follow in the footsteps of Aleph One, we install a system of the time, a debian 1.3, in a VirtualBox machine. You are considered to know how to create VMs and install regular systems. We will therefore focus on the subtleties.
The other day, I wondered how to configure a machine for my students so that they can follow step by step the article Smashing the Stack for Fun and Profit, without taking the lead. The goal being to understand the basis of buffer overflows, all the protections existing today on our modern OS only add noise.
One of the solutions I considered was to install an old OS in a virtual machine. Like then, in 1996 ... I could have installed a Debian 1.1 Buzz or a Slackware 3.1. I preferred to take Debian 1.3 Bo, released shortly after (June 1997), but for which you can find an iso on the internet.

Hard disk management
Since debian 1.3 does not have drivers for SATA hard drives (they were invented in 2003), you have to start by creating an IDE hard drive specifically to receive the installation.
In the configuration of your VM, menu Storage. Right click on Controller: IDE. Click on hard disk.

Then click on Create.

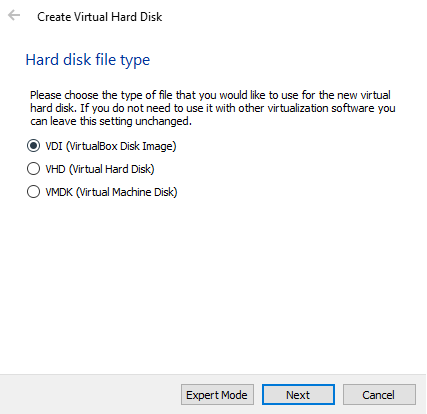
The following does not change compared to the creation of a classic hard disk in VirtualBox ... Choose file type VDI (default), press Next.
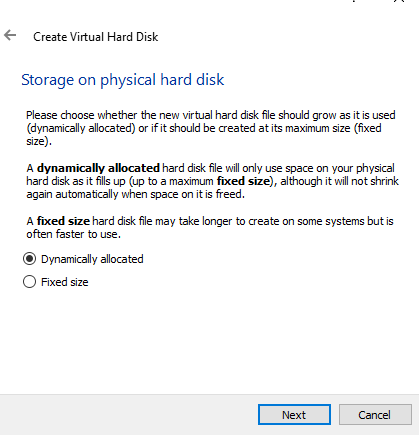
We choose to make a dynamically allocated disk, so that the space only fills up as the disk is used. Press Next.
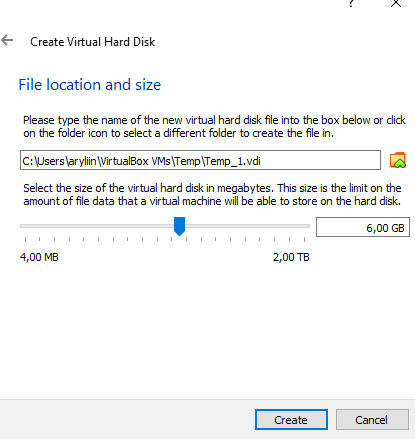
Now you have to choose the size of the hard drive. debian, in version 1.3, requires 40MB of hard disk! 😅 You can have fun reducing the size, or leave the default one, and hit Create.
Finally, click on Choose.
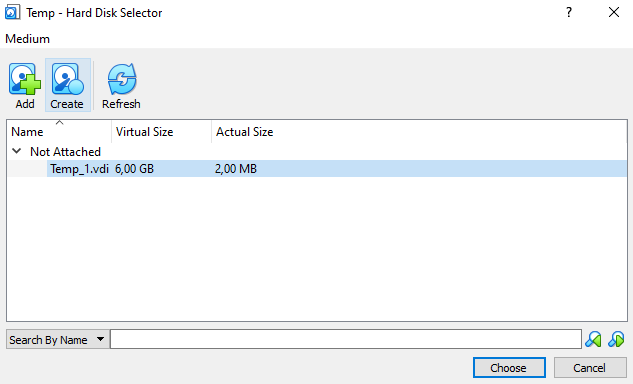
You now have your IDE hard drive. If your VM already has a SATA hard drive, right click on that drive, and click remove device. Do the same with the SATA Controler (it solves some geometry problems with VirtualBox ≥ 7.1.2).
Create a floppy disk
Because the boot manager at the time, lilo, was finicky about the size of the hard drive cylinders and VirtualBox didn't seem to handle it, we will use, as at the time, a boot floppy. Technically, we are going to create the drive and its floppy here, the boot side will be done during installation.
In the settings of your machine, menu Storage. Right click in the white area, under Controller: SATA, and click l8278 Floppy. A new controller appears in the interface, named Controller: Floppy.
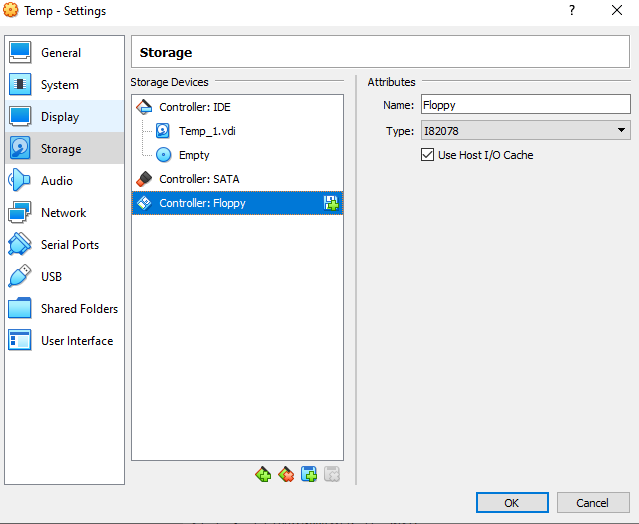
Tap the little + next to the Controller: Floppy.
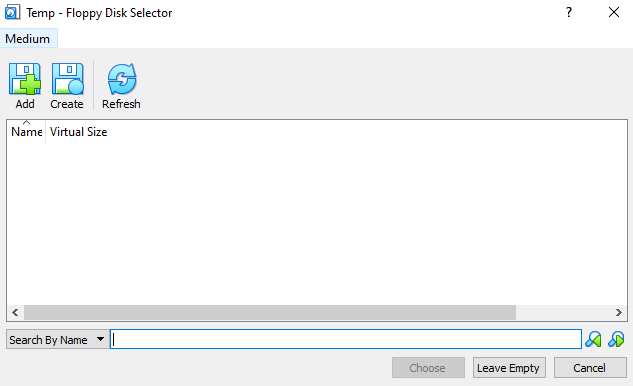
You will arrive in a disk management interface. Create a new diskette by clicking on Create.
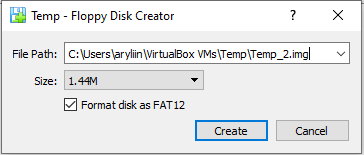
To create a blank floppy disk, leave everything as it is and click Create.
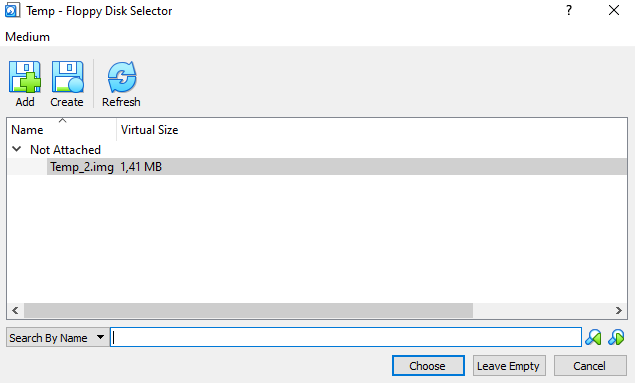
Now that it's created, we'll insert it into the player. Select it and click choose.
Close the configuration by clicking on OK.
Installation
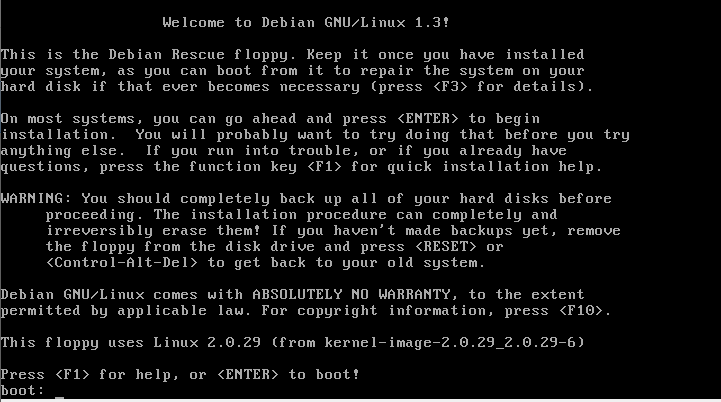
An iso of debian 1.3 is available at archive.org. Download it and boot from it.

At startup, debian welcomes you. Press the Enter key.
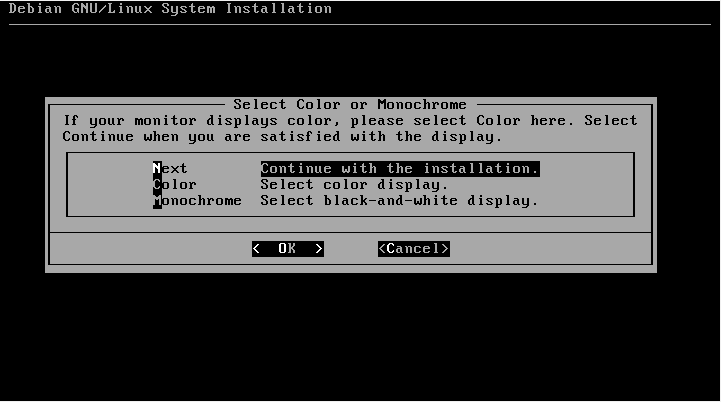
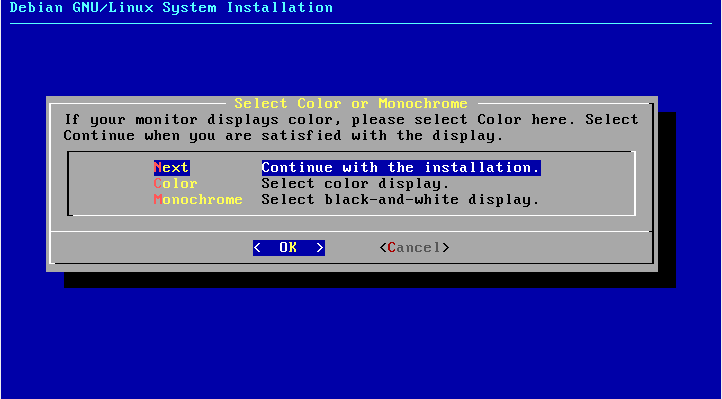
In 1997, not everyone had a color screen. This one was also cathodic ... And it was taken into account by the installer! It therefore offers you to choose between color and black and white before continuing. Press C because you probably have a color screen, then press Enter.
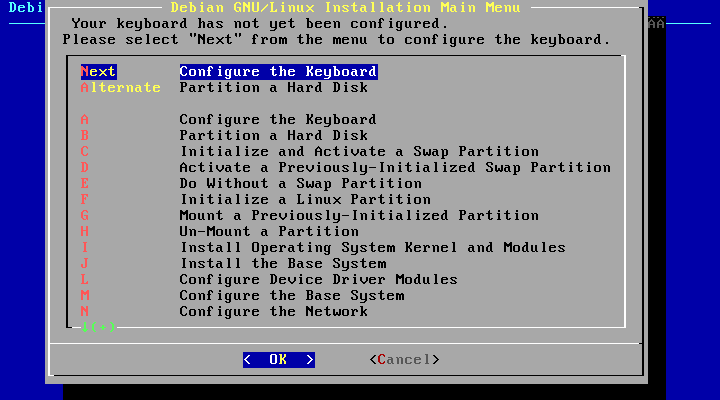
And you come to the (pre) twenty-first century ... Make sure you are on Next and press Enter.
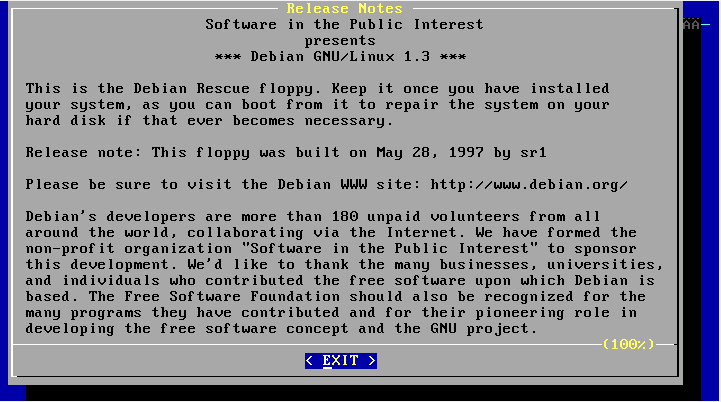
Press Enter.
You arrive in the installer. Press Enter to configure your keyboard.
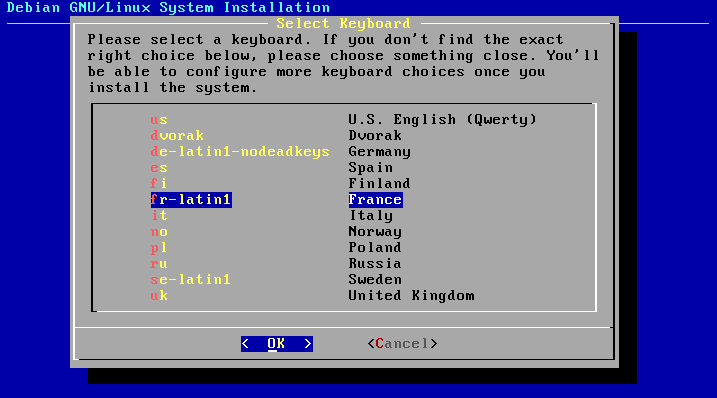
We are in France, we use a French keyboard. You have to go down with the arrows to the line fr-latin1 and press Enter.
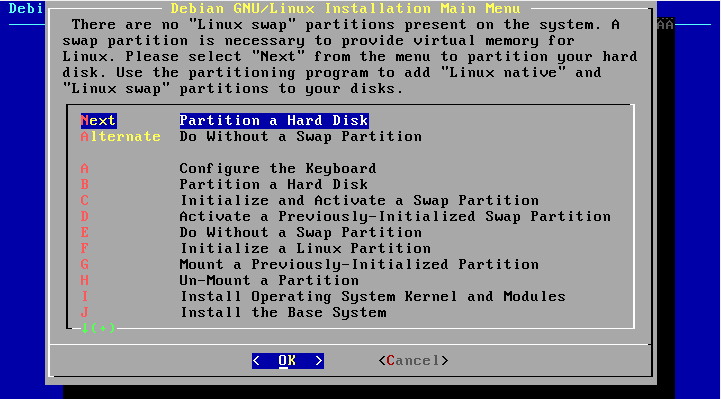
Return to the installer screen. The next step is to partition the drive. Press Enter.
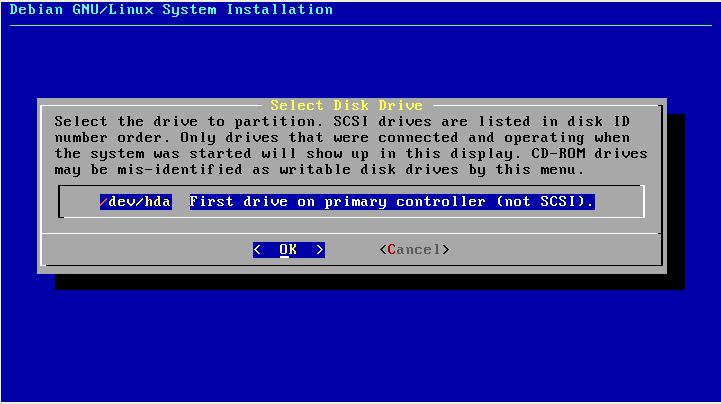
The hard drive you previously created is selected, since it is the only hard drive in the system. It is /dev/hda. Press Enter.
The minimum system requirements are to use 4MB of RAM, with 40MB of hard drive, 300MB if you plan to install all available packages. I guess this is largely good for you 😜.
We will therefore follow these recommendations, by creating a 500MB Linux partition, and an 8MB SWAP.
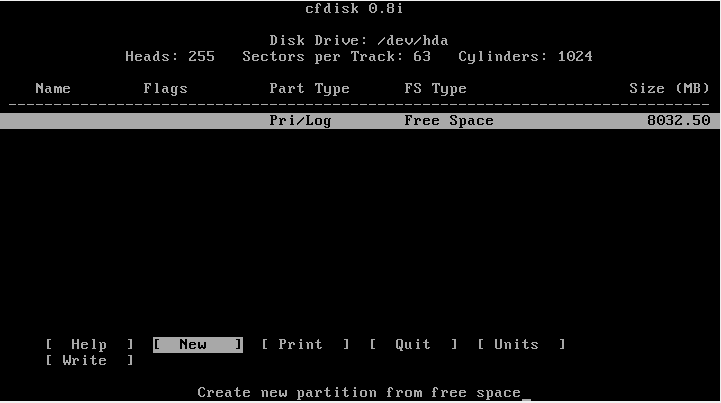
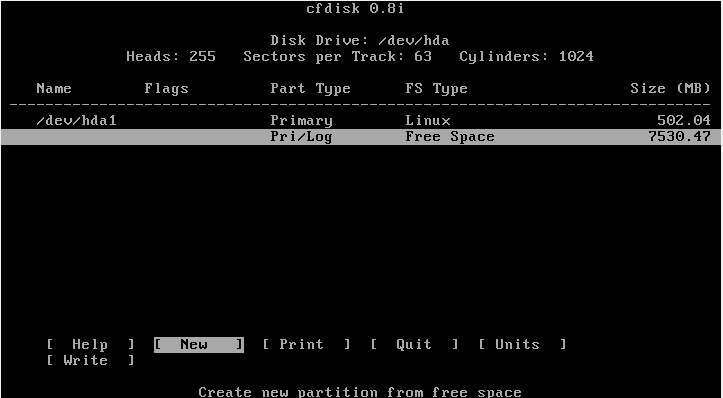
The cfdisk partitioning software is very recent. Version 0.8 is only 5 years old. 22 years later, it is still in use.
This allows you to partition the hard drive. Use the directional arrows to move the cursor to [New] and press Enter.
Note for VirtualBox ≥ 7.1.2. If you kept a SATA controler, you may encounter a geometry problem instead of this screen. In this case, hit any key to come back to the installer and then chose the last option Execute a Shell. You can then run cfdisk in command line and give it your disk geometry in terms of cylinders (-c), heads (-h) and sectors (-s). You can then proceed.
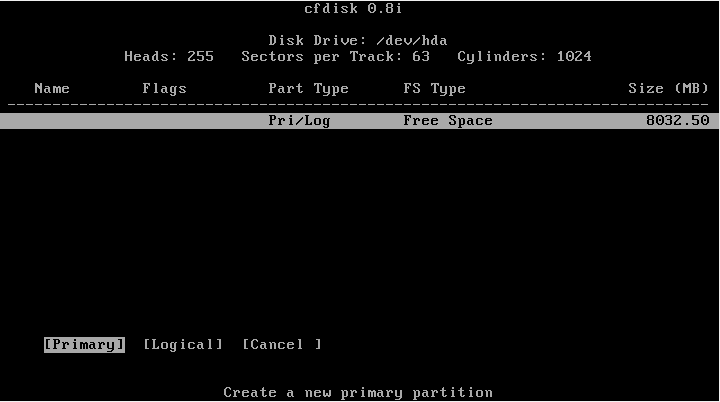
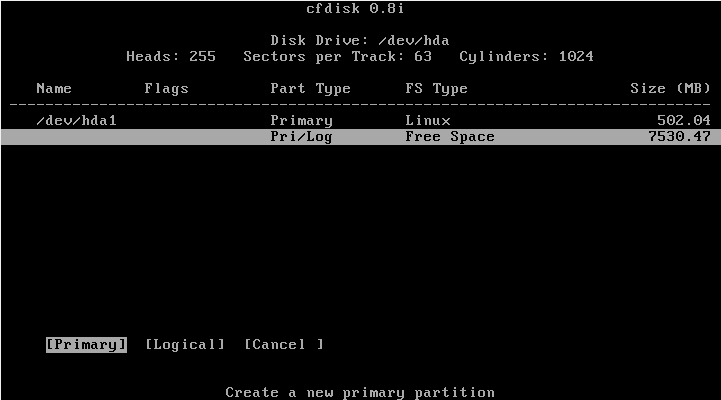
We start by creating a primary partition [Primary]. To do this, just press Enter.
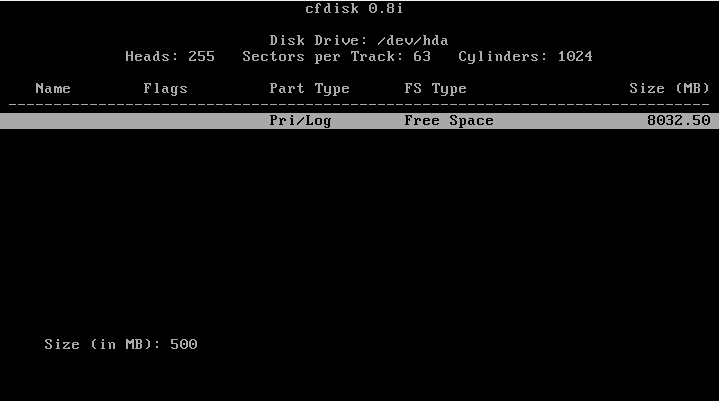
Enter 500 (back then, that was obviously MB) and press Enter.
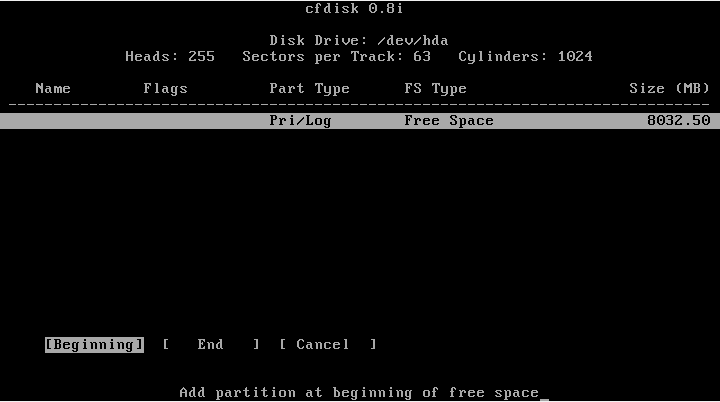
Put the partition at the beginning of the available space, for this the cursor must be on [Beginning], and press Enter.
To create the SWAP, we will proceed in the same way as before. We go to the free space using the arrows, then we select [New], and we press Enter.
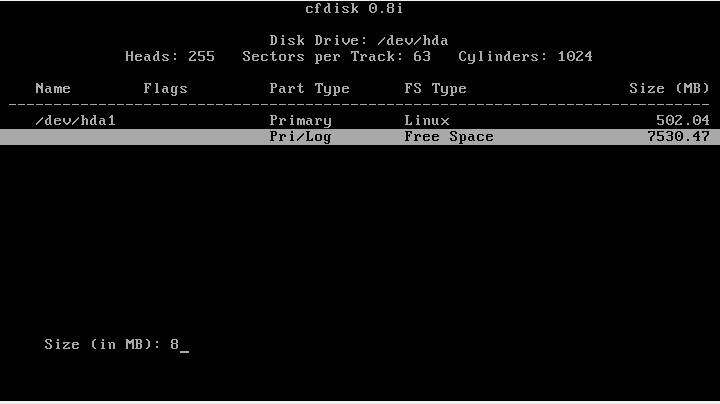
Always Primary partition, by selecting [Primary] and pressing Enter.
We put the size: 8 (still MB 😉), and we press Enter.
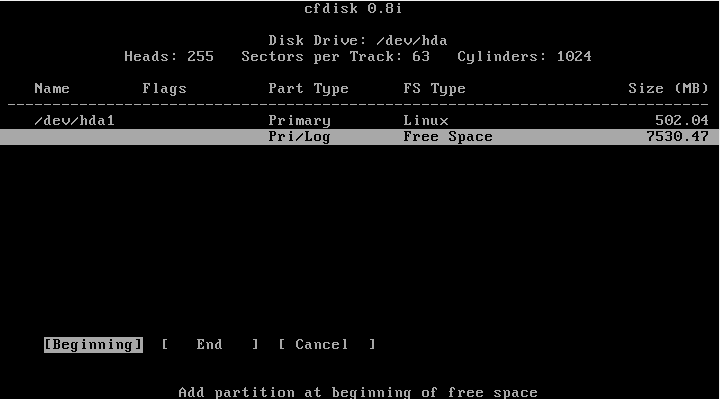
And we ask that the score be placed after the other, at the start of the free part, by selecting [Beginning]. Press Enter.
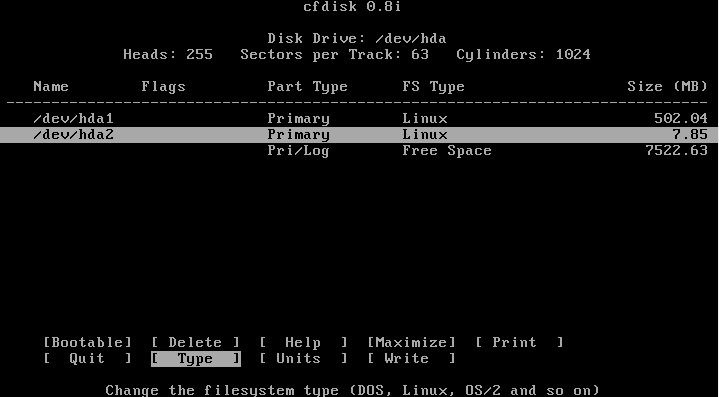
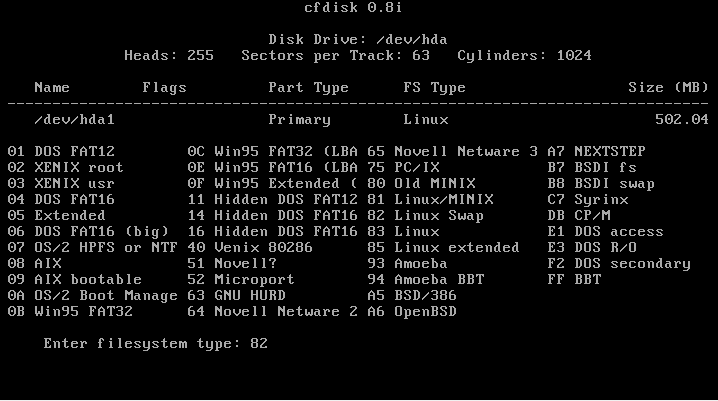
This partition is different from the previous partition, it is a SWAP. You must therefore move the cursor to Type and press Enter to define its type.
To set Linux Swap, type 82, and press Enter.
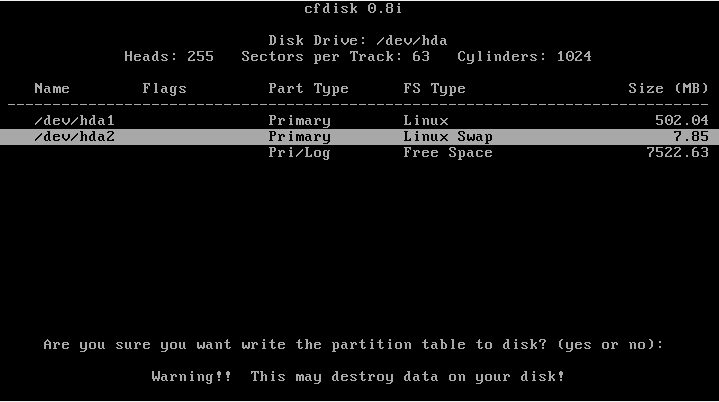
Now that the two partitions are done, move the cursor to [Write], and press Enter to validate the creation of the partition.

You are informed that you are about to overwrite the partition table and this may erase data on the hard drive. As our disc is blank, no worries. Type yes and press Enter.
Your partition table is now written, you can quit cfdisk, to do this move the cursor to Quit and press Enter.
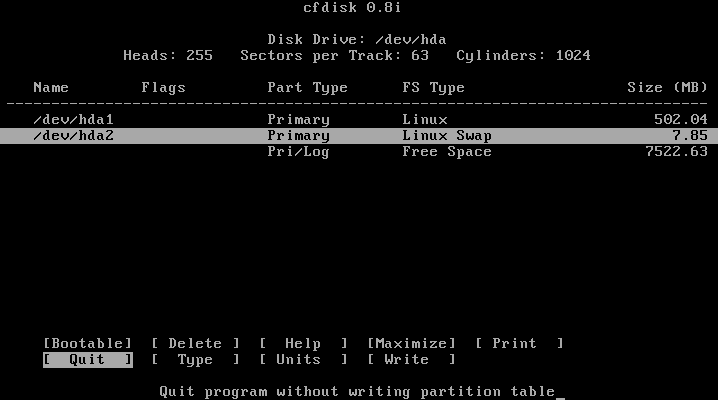
Note: if you've run cfdisk through the command line, you must now exit de command line with the command exit.
Now that your partitions are done, it's time to define the filesystem and mount points. Press Enter.

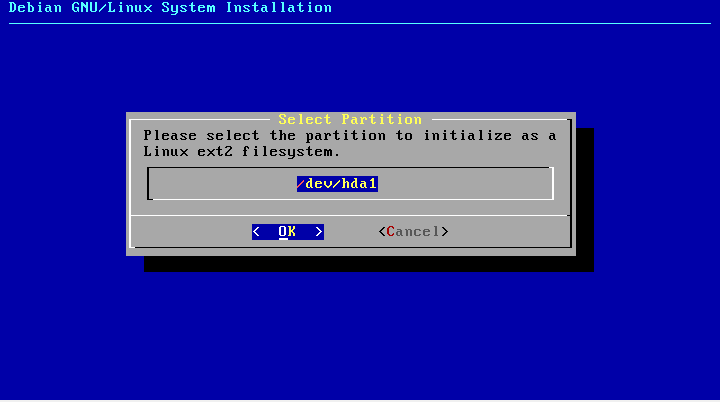
The filesystem at the time is ext2 (ext3 will arrive in 2001). Select your partition /dev/hda1, and press Enter.
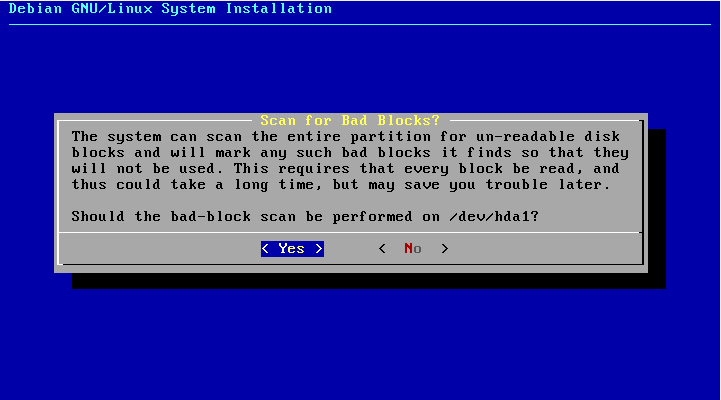
The installer offers to scan the disk for bad sectors (the badblocks). We will let him do it, given the size of the partition, it won't be long. Select Yes and press Enter.
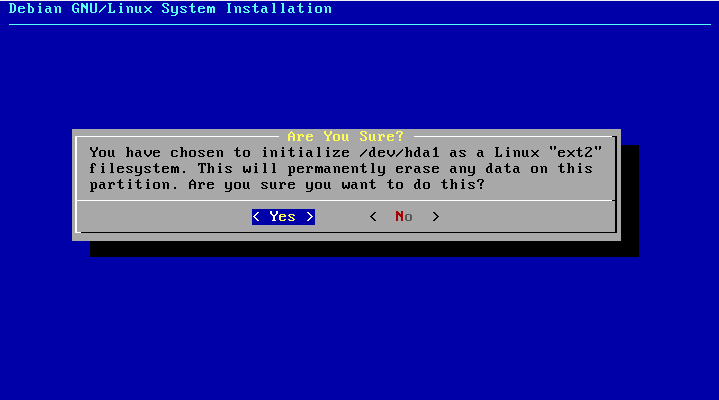
The system then warns you that formatting the partition in ext2 will erase the data on it. Leave on Yes and press Enter.
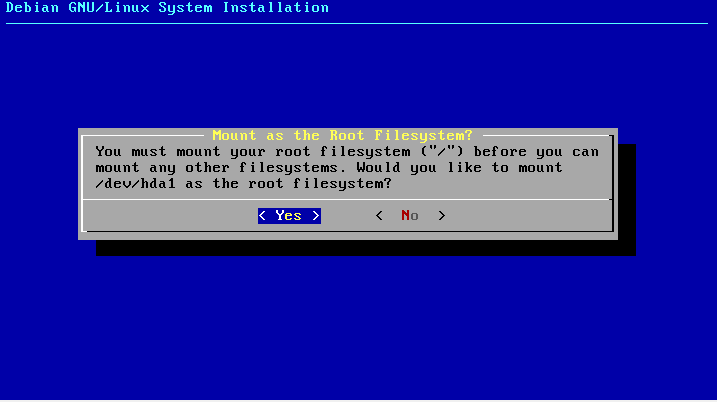
We will have to wait a little while ... Next you will configure the root mount point. Since you only have one partition, you have nothing to choose from. Press Enter.
We will then initialize the SWAP.

It happens in the same way as before; select /dev/hda2, search for badblocks, delete data warning.
Now that you have your filesystem in place, the kernel installation can begin. Press Enter.

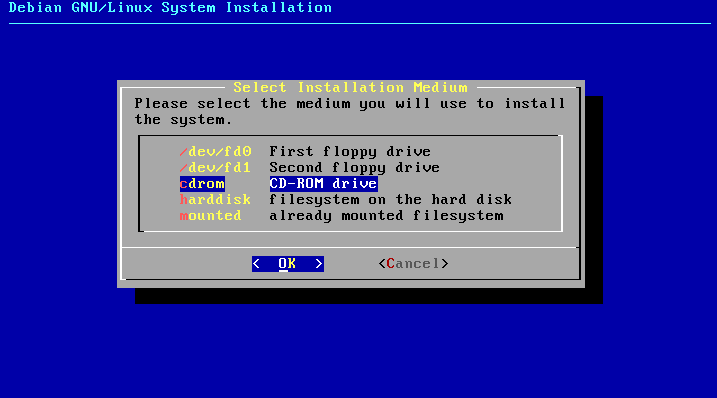
You need to select the device containing the files. Select cdrom and press Enter.
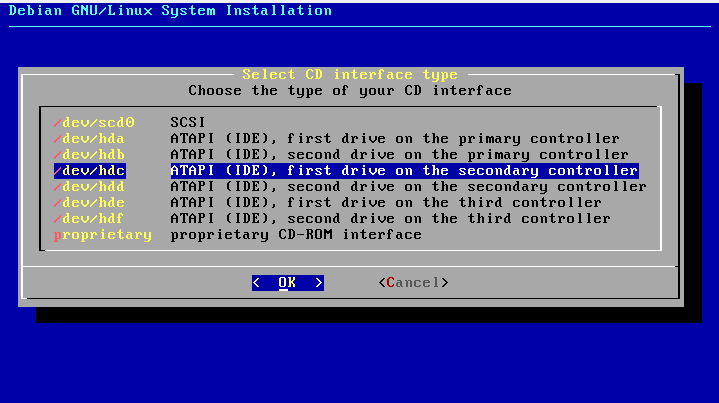
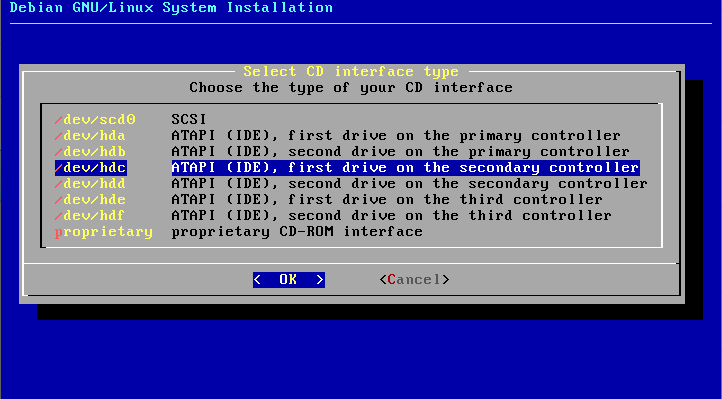
You must then choose the device corresponding to the cdrom. Unlike what VirtualBox shows you; second disk of the first controller, we are in fact on the first disk of the second controller. We choose /dev/hdc we press Enter.
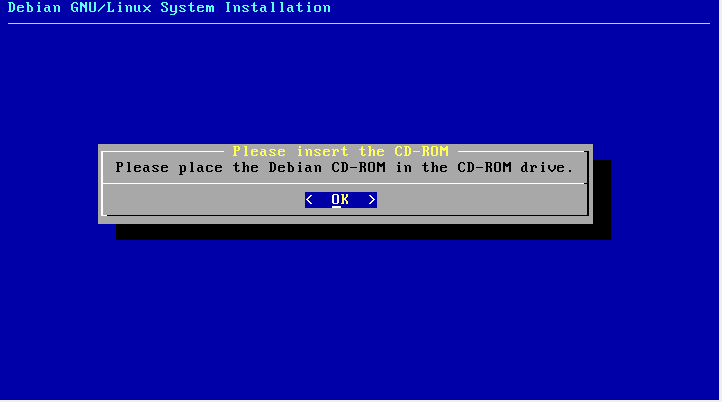
You are then asked to insert the cdrom, which is already done, press Enter.
Then, choose the directory containing the files to install the kernel and its modules. We keep what is selected by default, default and we press Enter.

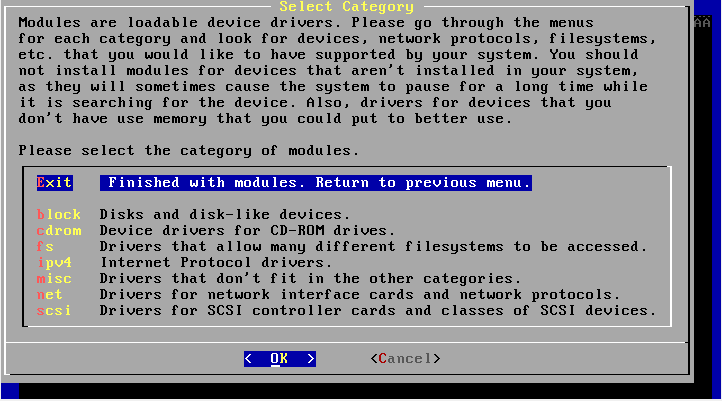
The installation of the kernel and modules is done, you must then select the drivers. Press Enter.
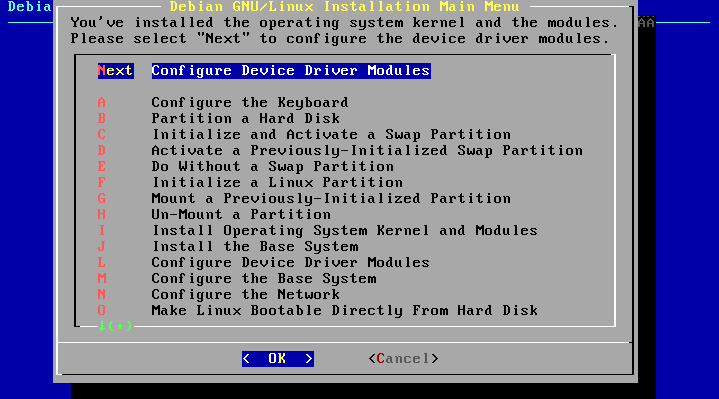
We won't install anything, after all we just want to buffer overflow. Select Exit and press Enter.
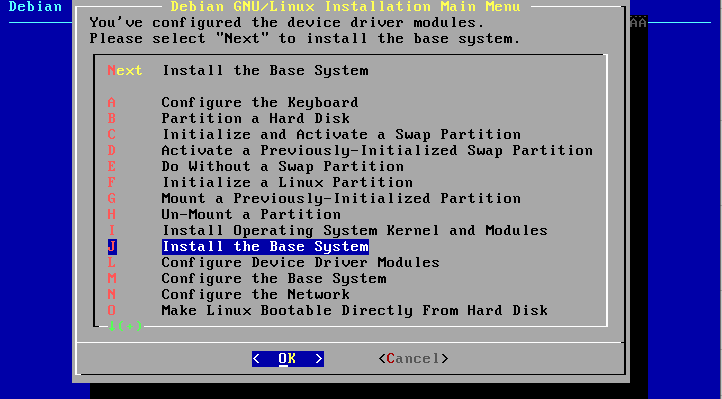
We will now install the base system. Select Install the Base System and press Enter.
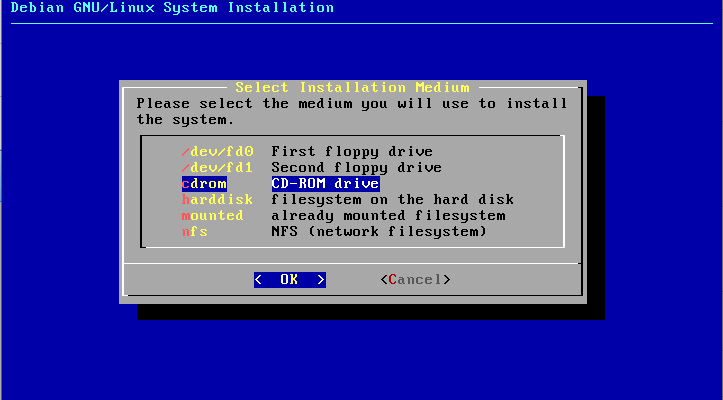
Select CDROM and press Enter.
Select the device corresponding to your cd-rom, /dev/hdc and press Enter.
The installer prompts you to insert the disc, which it has already done. Press Enter.
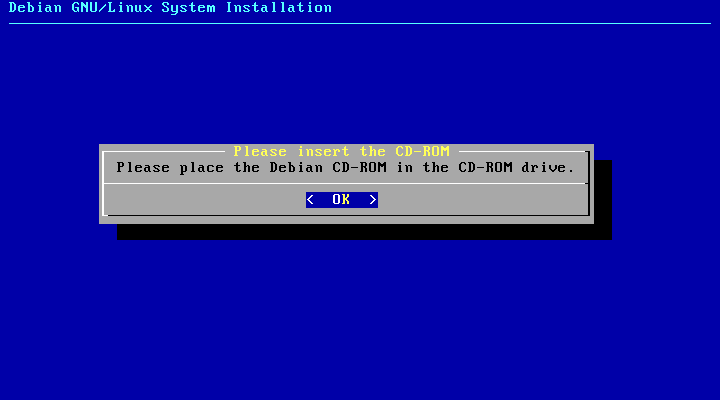
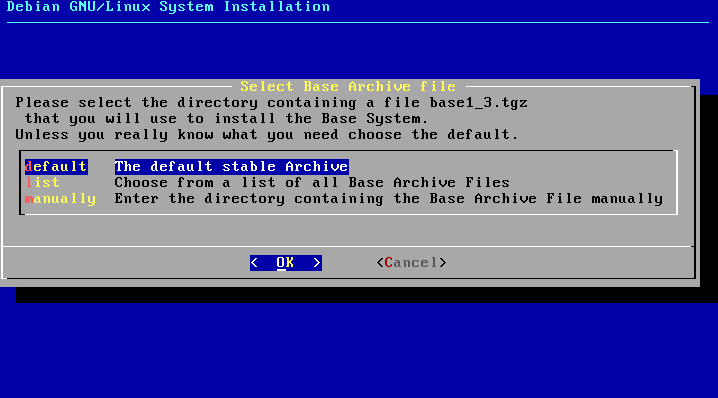
It then asks you where the base1_3.tgz file is located. It is located in the default directory. Press Enter.
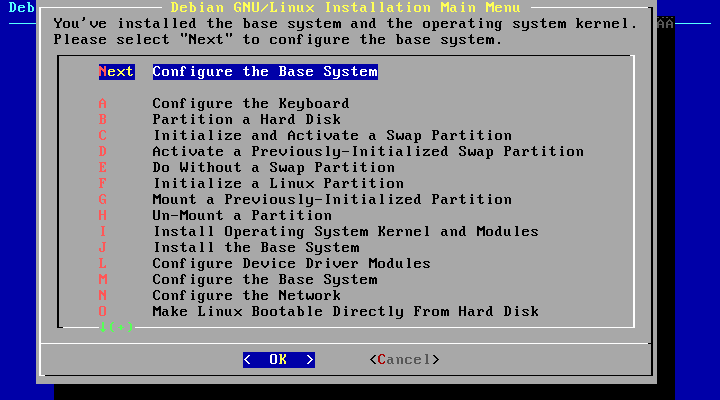
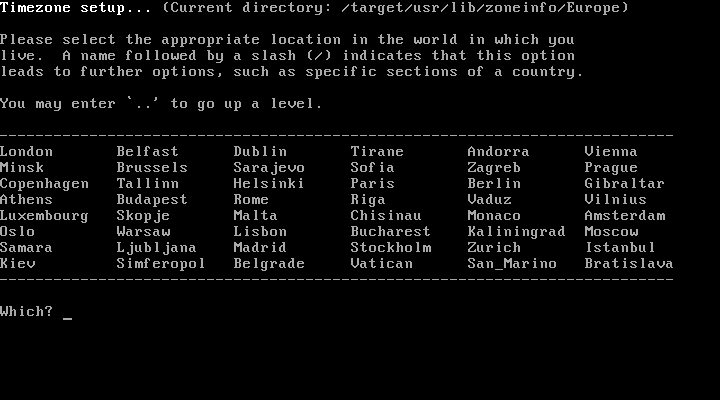
We will then configure the location. Select Configure the Base System and press Enter.
You have to define the time zone. We are in France, so type Europe and press Enter.
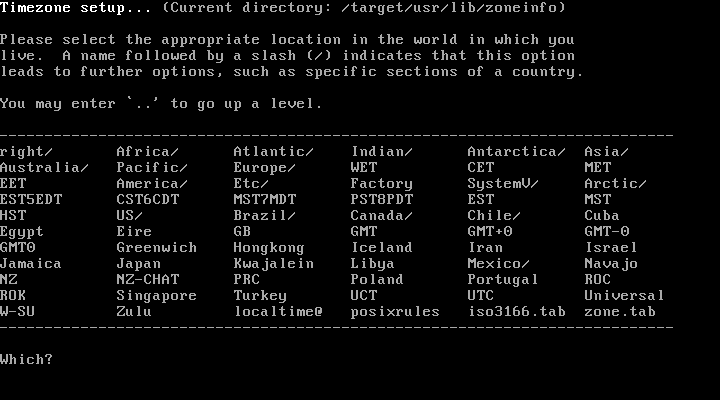
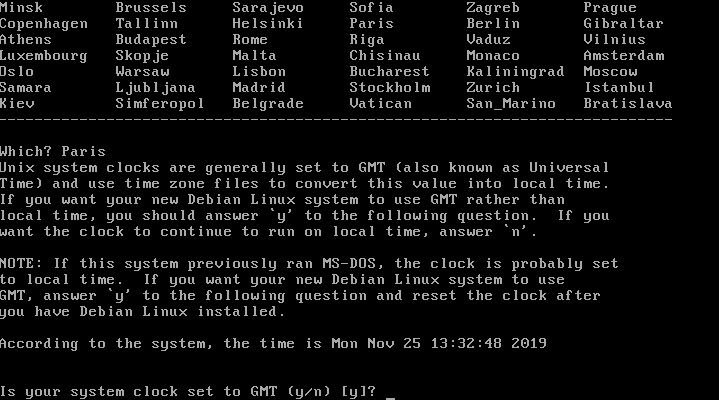
Then type Paris and press Enter.
The system will ask you if the internal clock is GMT or local, and therefore if it needs to apply a delta to know the time. Type n and press Enter.
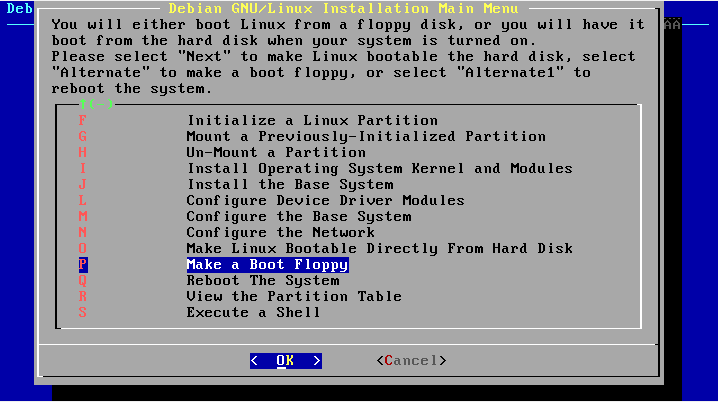
Finally, the last step is to make everything bootable.
As we told you, Lilo, the boot manager at the time is very capricious ... So we are not going to install it on the hard drive, but create a boot floppy that will allow us to boot, and which will be much simpler.
Select from Make a Boot Floppy and press Enter.
You will be asked to insert the floppy disk, which you have already done. Press Enter.
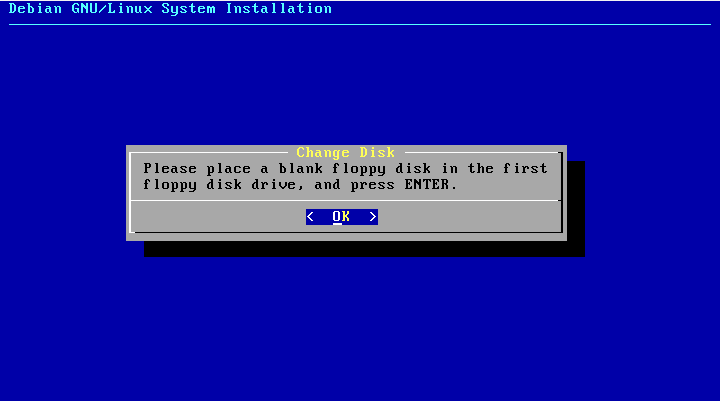
Wait for the floppy disk to be made.

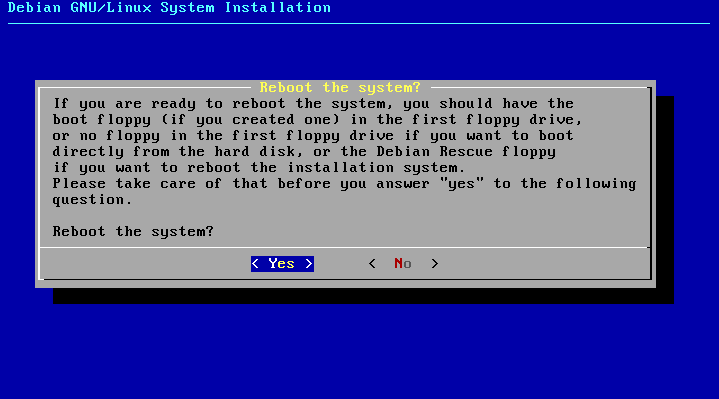
Finally, you must reboot the system, selecting Reboot The System and pressing Enter.

A message tells you that you must have bootable media to be able to boot the system. Press Enter.
First boot
In order to boot from the floppy, during boot, press f12 to configure the boot.

Press f to select the floppy disk.

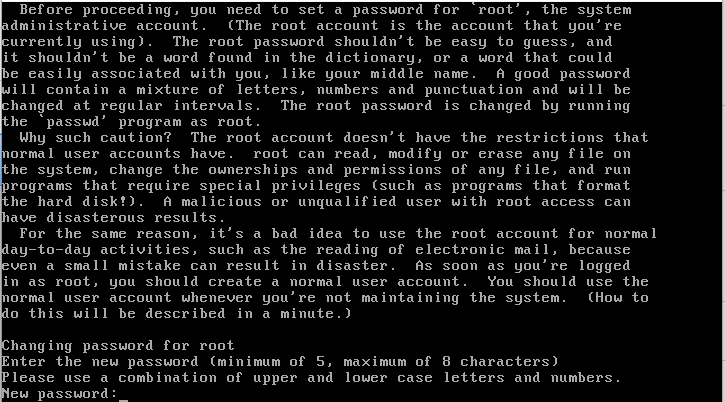
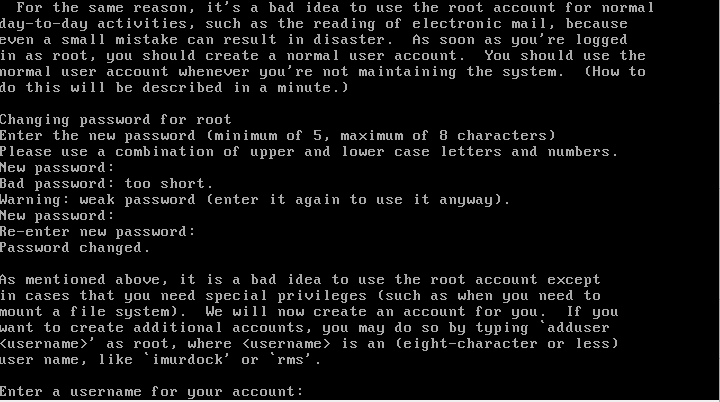
After a few seconds of booting, the system will ask you for a new root password.
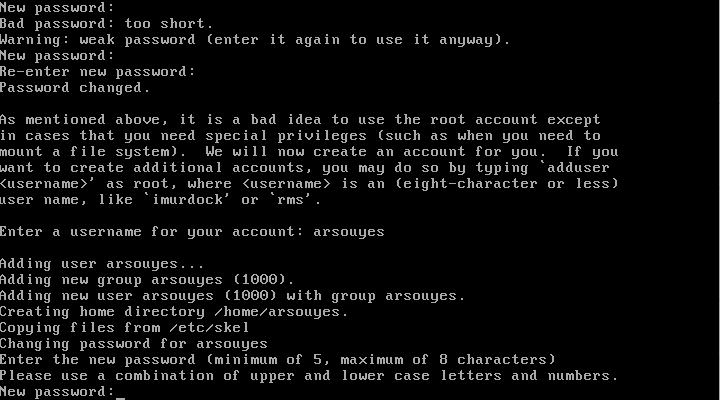
Then the name of the new user.
As well as his password.
Finally, all the information relating to this user.
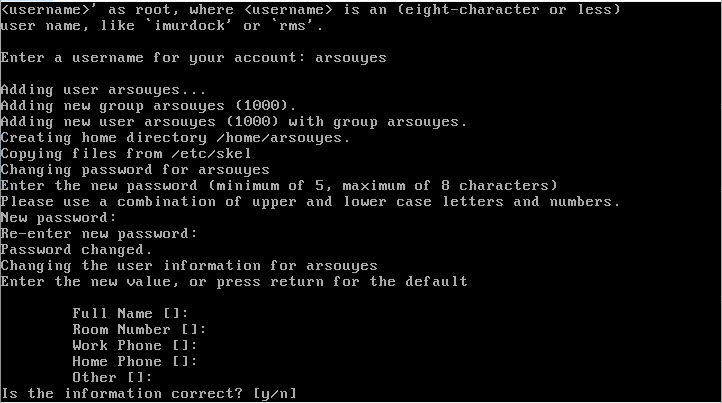
The system will then ask you if you need to secure the passwords using shadow1.
Press Enter.

Then the system will warn you that it will install dselect, a software that allows you to choosedebian packages to install on the system (apt will not arrive until 1998). Press Enter.

I'll let you go through the packages to determine which ones you need. In my case, I just selected [Q] uit and hit enter.

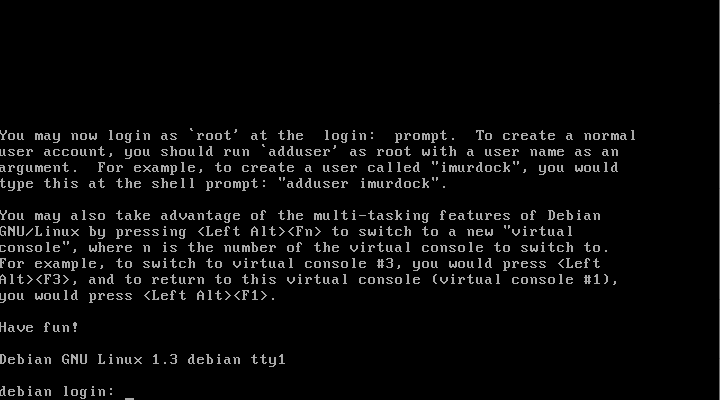
And, after so much effort, you can (finally) log into your beautiful and (almost) brand new system!
And after ?
Well, it's true that it's not very useful to have an old OS. Nor very practical for that matter.
As you can see, your linux is almost empty. Feel free to use dselect to add what you need (emacs and vim already exist). On the other hand, it will have to be reminded each time to use the cdrom as the source of the package (unless you have a period 'FTP' repository ...).