Virtualize a computer whose disk has been cloned
Spoiler: When you have a computer to examine, it is important to leave the original intact. But still, it is handy to be able to boot the system and explore it like in real. For these cases, we suggest virtualization from the disk clone. We will convert the bit-by-bit copy of our hard drive into a format compatible with Virtualbox. We will then create a virtual machine by assigning our newly converted disk as a hard disk.
Obviously, the most important task of the forensic expertise of a seal is to find the evidence of different offenses or crimes. But we should not neglect everything that is ancillary that could help: which websites have been visited, who is in contact with the computer user?
For this, it is obviously possible to browse file systems in search of caches of web browsers, bookmarks and others. But it is also very convenient to be able to use the computer “as if you own it”.
Sometimes, the view of the wallpaper, the export of data saved by the browser, a home made shortcut on the desktop or the applications installed or launching at startup can allow you to learn more about the person and his computer skills. It is also much easier for certain tasks such as retrieving the configuration of certain software …

However, it is unthinkable to start directly on the seal and play with it… Any modification of the seal makes our operations not reproducible by our colleagues. Not to mention that it is essential to keep the seal intact in the event that additional investigations are necessary, or if a new expertise should take place. It would be inappropriate to leave our own traces in the middle of the data.
Fortunately, as we will show you today, we can run a copy of the seal in a virtual environment. You can then use the system like in real, see installing all the tools you want, without touching the original seal.
The conversion was done under Ubuntu 18.04.1 with Virtualbox 6.0.18 and all the screenshots were made on Windows 10 with Virtualbox 6.1.16, but the menus don’t really change from version to version.
We will take the example of a computer running Windows 10 whose hard drive we have previously cloned, because this is the most common case. If you don’t have the password, you can take this opportunity to install your backdoor before 😉.
Convert disk
We will start by converting the disk we cloned with
dd into a disk format usable by Virtualbox. There are
several formats that can be used, but VDI (VirtualBox Disk
Image) format is THE Virtualbox virtual disk image format. So this
is the one we will choose.
To convert the disk, you have to use VBoxManage via the
command line. The conversion requires the following parameters:
convertfromraw: convert from raw file,windows.raw: name of the source file, containing the disk clone,windows.vdi:name of the destination file, which will contain the disk usable by VirtualBox,--format VDI: specify the output format, here we have chosenVDI.
The complete command line is therefore as follows:
vboxmanage convertfromraw windows.raw windows.vdi --format VDII advise you to create a specific directory in which you will put your VDIs, just to find your way around.
If you delete your VM, Virtualbox will ask you whether to delete all associated files. If you click “All”, your VDI will be erased, regardless of its location on your hard drive.
Create the virtual machine
We will then create the virtual machine in Virtualbox.
You can create the virtual machine before converting the disk. In this case, you will need to create a virtual machine without a disk, and add the disk to it afterwards.
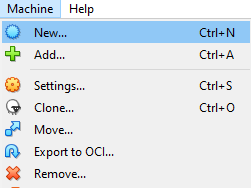
Launch Virtualbox and start the creation of a new machine via the Machine / New … menu.
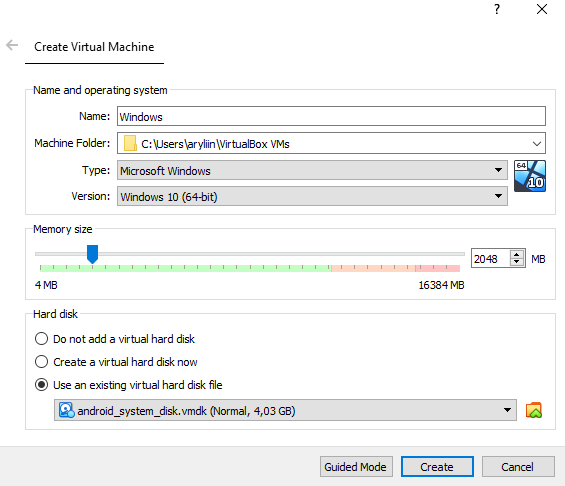
VirtualBox opens the initial configuration window to you. Fill in the fields as follows:
- Name: The name you want to give to the VM, to be able to recognize it among your other VMs,
- Type: The type of operating system that is running on the computer whose disk you have cloned, here “Microsoft Windows”,
- Version: The version of the operating system, in our example “Windows 10 (64bits)”,
- Memory size: Virtualbox will select the minimum memory required depending on the operating system you have selected, in our case, we leave 2048, which corresponds to Microsoft’s minimum recommendations. You can also choose to put as much as on the seal, and increase if you notice slowness,
- Hard disk: click on “Use an existing hard disk file”.
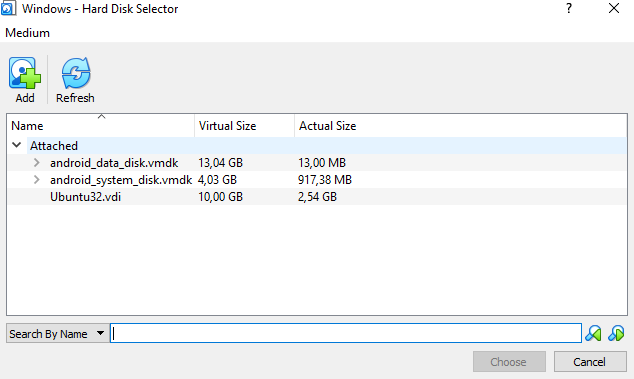
Click on the small folder with an arrow  , to
the right of the drop-down list, to access the VirtualBox media manager.
This does not yet reference the disc you just converted, click on the
Add icon.
, to
the right of the drop-down list, to access the VirtualBox media manager.
This does not yet reference the disc you just converted, click on the
Add icon.
Ce qui vous ouvre l’explorateur de fichiers, dans lequel vous devrez naviguer pour choisir votre disque précédemment converti.

Back in Virtualbox Disk Manager, select your disk and click Choose.
Finally, click on Create.

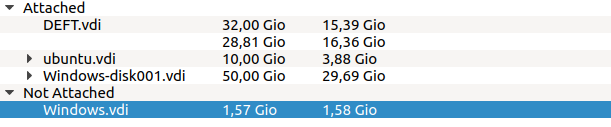
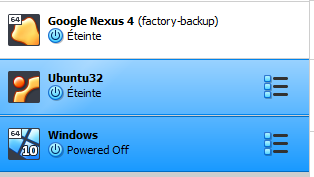
Your new VM will then appear in the list of available VMs.
You can now launch your VM. So you can browse without fear of breaking something in the computer.
Note that using the VM only uses the VDI file and not the RAW file. As a result, the raw will remain intact. And you will thus keep a backup copy of your disk without any modifications on it.
And after
You can navigate the computer as if it were the real one. This is
among other things useful for viewing the files of this one with the
tools made for (who wants to look at the sqlite
corresponding to the bookmarks ?! when launching the browser is
definitely more user friendly).
For the record, it was useful to me a few times during expertises. I probably wouldn’t have noticed the shortcut the system user placed on the desktop, allowing the computer to shut down instantly and without checks …