Back up your data on OVH Cloud with Duplicati
Spoiler: Backing up your data is important. But no need to take worked up. Today, we show you that it is relatively easy to schedule an automatic backup of your important data in the OVH cloud, thanks to Duplicati, a tool with a rather well thought out graphical interface.
We cannot repeat it enough, it is necessary to make regular backups of important data. Whether it's a fire or a crypto-locker, there is never risk zero. Fortunately, there are inexpensive and effective solutions to back up your data. So why go without?
Until now we used duplicity, a command line tool, which allowed us to perform backups on the OVH cloud. But since after a while the command line was not very user friendly, we set up a new server to do our backups, this time based on duplicati, which allows you to do much the same thing, but this time, via a GUI.
To back up the data, we use the Public Cloud storage from OVH, and for sending the files, the duplicati software, installed on an Ubuntu Server from the.deb.
Because we must admit, viewing what has been saved just from the command line gives an undrinkable listing ...
OVH Side
We have chosen to use OVH Object Storage as remote storage. Not because we have actions at OVH, but because it is not very expensive per GB (0.01 € HT/month/GB), and that, since we have several services at home, it avoids multiplying service providers.
"Object Storage" type storage space is part of OVH's professional offering called "Public Cloud". You will therefore have to place an order with OVH, then send a copy of an identity document before the service is opened to you.
Once your order is validated, you can go to the OVH configuration screen, which you will find from the dashboard, in the Public Cloud tab.

The container
Before you can store anything at OVH, you have to create a container.
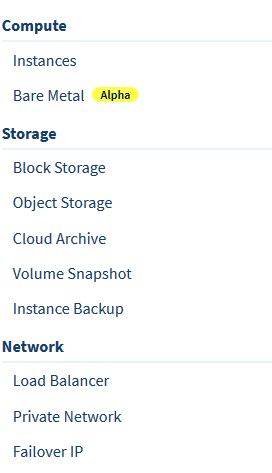
To do this, in the left menu, click on Object Storage, in the Storage section.
Click on Create an object container.

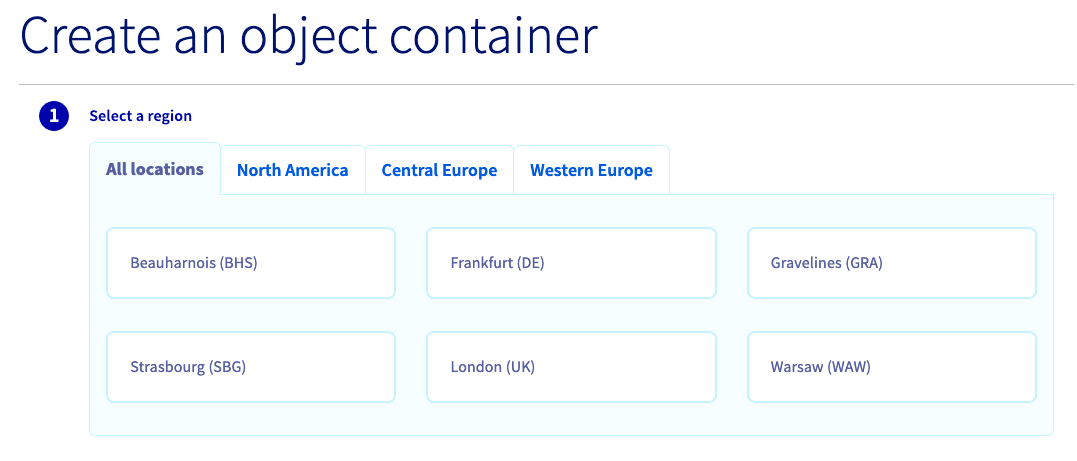
You will arrive on a three-part form, allowing you to configure your container.
The first thing to configure is the geographic area of the container. Out of habit, we chose Gravelines. Choose the location that suits you, depending on your location, and click on Next.
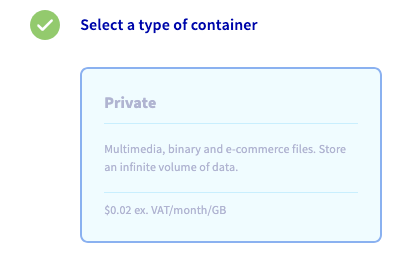
The second thing to configure is the storage type. There are three types of containers:
- Static hosting: used in the case of hosting a website,
- Private: used to store private archival information, not intended to be available on the internet,
- Public: storage space for data intended to be publicly accessible.
Choose Private and click on Next.
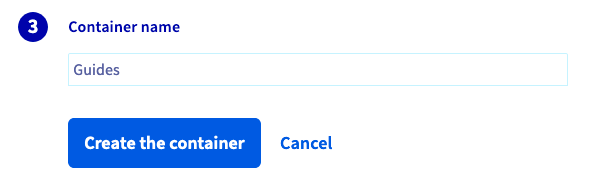
Finally, give a name to your container and click on Add container.
You can then find the list of containers created in the OVH interface.
The user
After creating a container, you will need a user who can access it and drop data into it.
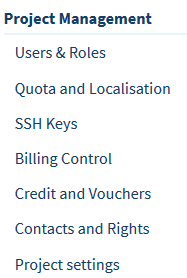
To do this, still in the OVH interface, under the Public Cloud tab, in the left menu, click on Users & Roles, in the Project Management section.
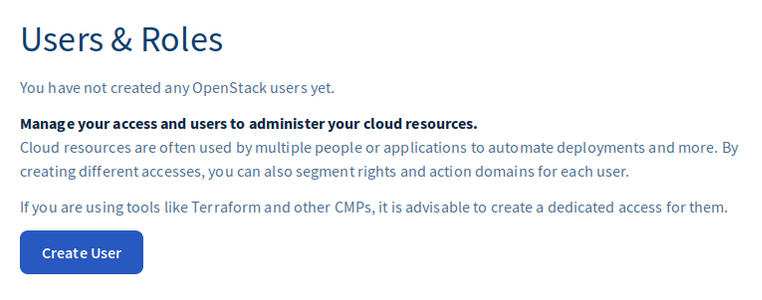
You can then create a new user by clicking on Create user.
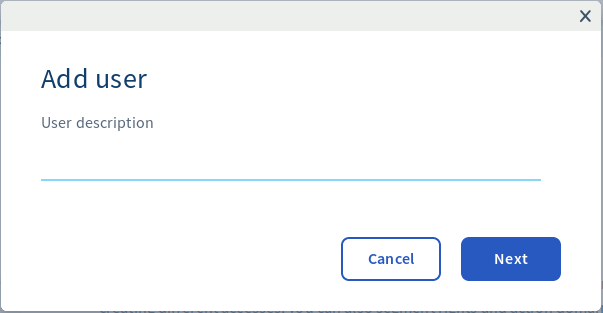
The first thing that you will be asked for is the description of this user, so that you can easily find him in the OVH interface. Enter a description and click Next.
This description is only used to easily locate the user in the OVH web interface. In fact, when the user is created, a name will be randomly generated by OVH, and this will be the one you should use to log in.
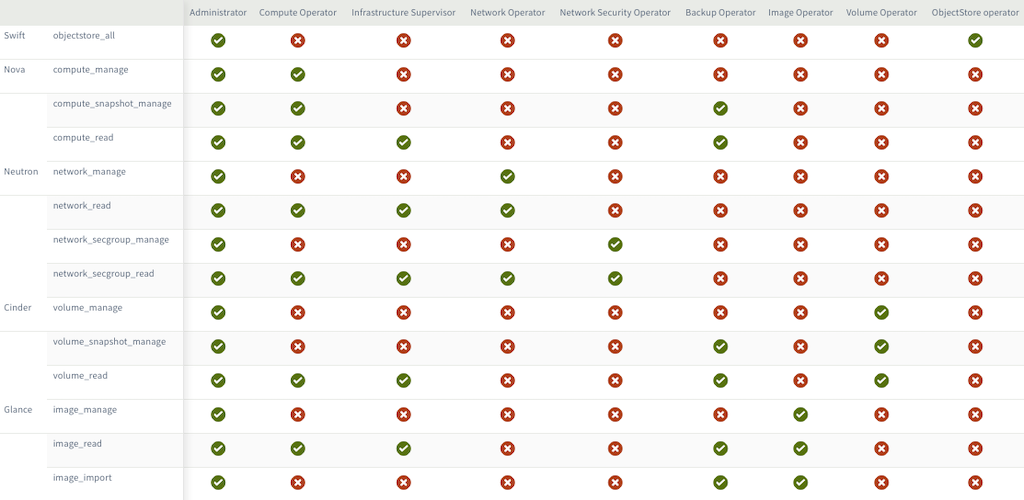
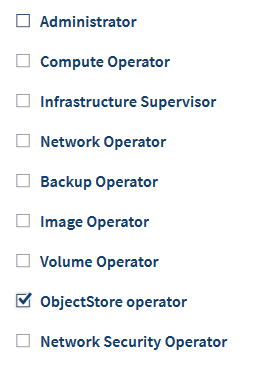
In order to limit the actions that this user can do, you must assign them a role.
Our user will be used to store and retrieve data in the container using swift. The only roles corresponding to this use case are Administrator and ObjectStore Operator. As we prefer to use the least privilege policy, we must check the Object Store operator box.
Then click on Validate.
You will then see a green message appear on the web interface, giving you the name and password assigned to your user. Note them carefully, as it is not possible to recover them after the fact. If you don't, that's okay, but you will need to request a password regeneration.

Information for smart kids. No, the Arsouyes did not provide you with their password on their site. We obviously created a user specifically to take the screenshots and then deleted it 😉.
OpenStack informations
We have our container, we have our user. Everything is good on the OVH side.
In order to simplify the configuration of duplicati, we are going to retrieve the OpenStack configuration file provided by OVH, because it contains information that we will use later.
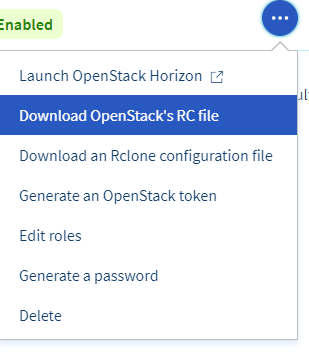
To do this, in the list of users on the OVH administration interface (as a reminder, Public Cloud tab, Project Management section, Users & Roles menu), click to the right of the user, on the small round icon with the three small dots.
A submenu opens. Click on Download OpenStack's RC File.
You will need to fill in the region you have chosen for your container. Then click on Download.

This is a text file, to be opened with an editor, in order to extract the values. We will therefore keep the file aside, and we will open it during the duplicate configuration.
Home side
Now that everything is ready at OVH to receive the data, back to home, to install and configure duplicati.
Installation
We have chosen to install duplicati on an Ubuntu Server 20.04. There is no repository with duplicati, so you have to download the debian package and install it the old way.
The package does not manage dependencies, and will require the prior installation of a few packages:
sudo apt-get install mono-complete gtk-sharp2 libappindicator0.1-cil libappindicator3-0.1-cilThen get the .deb from the official site. As of this writing, duplicati was version 2.0.5.1-1. There is no latest link, so you will need to check the official website for the current version before downloading.
wget https://updates.duplicati.com/beta/duplicati_2.0.5.1-1_all.debFinally, install the package via dpkg.
sudo dpkg -i duplicati_2.0.5.1-1_all.debIf any of the above four dependencies have been forgotten, you can use the apt --fix-broken install command to repair your installation.
As we do not want to run duplicate by hand, we will install it as a service.
sudo systemctl enable duplicati.serviceWeb interface
We installed duplicati on an Ubuntu Server, so we don't have a GUI. This poses a problem since duplicati works in two basic ways: via a program to be launched in the graphical interface, or via a web interface only accessible from localhost.
To allow access to the web interface to other machines, you must modify the /etc/default/duplicati file and tell it to listen on all interfaces, by modifying the DAEMON_OPTS configuration line: DAEMON_OPTS = "--webservice-interface = any".
After restarting the service, via the command sudo service duplicati restart, you can access the web interface via the url:http://<your server's ip>:8200
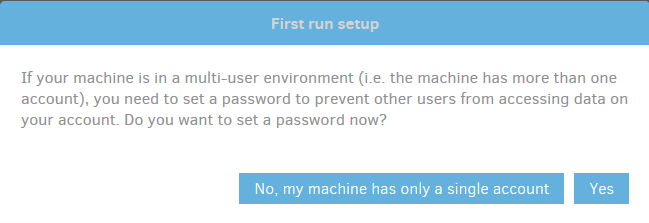
At the first connection, duplicati will warn you that if you are in an environment where several users, it is necessary to put a password in order to prevent other users from accessing the interface.
Click on Yes1 to be automatically redirected to the parameter configuration page.
In order to set a password, check the Password box, then write it in the Password and Confirm password fields.
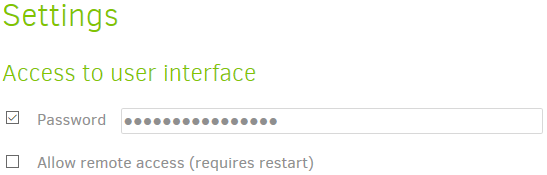
Note in passing that Allow remote access is checked, which is normal since you have already put this authorization directly in the configuration file.
Click OK at the bottom of the page.
Backup Creation
Now that duplicati is installed, we will set up a backup.
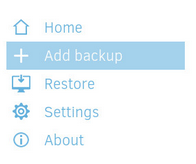
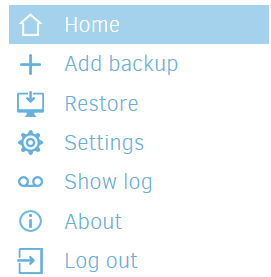
In the left menu, click on Add backup.
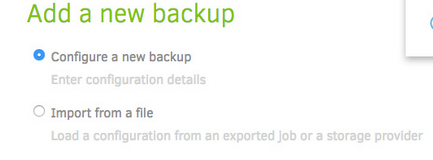
Choose Configure a new backup. Click on Next.
You will then arrive in a series of 5 screens, each allowing you to configure a particular point of the backup (general parameters, destination, source, schedule and advanced options).
General settings
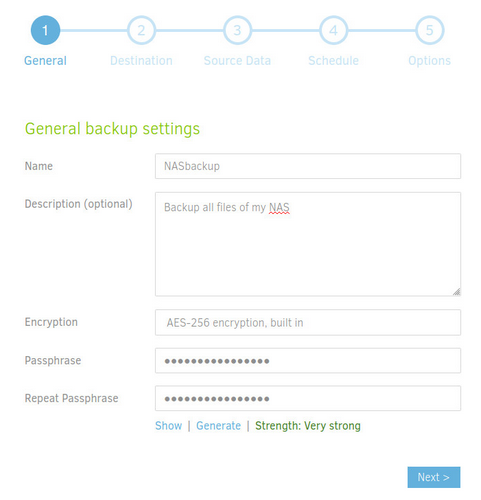
The first screen concerns the general parameters:
- Name: The name of your backup, to find it easily in the
duplicatiinterface, - Description: If you want to explain in more detail what you want to save,
- Encryption: Defines how the data will be encrypted before storage, very useful if you do not want your data to end up on the net in the event of a compromise of your container, choose AES-256 encryption, integrated,
- Passphrase: The passphrase for encryption,
- Repeat the passphrase: as the name suggests, repeat the passphrase, to make sure you've typed what you wanted.
Click on Next.
Destination
The second screen will allow you to configure where you want to save the data. By default, data is saved to the server hard drive.
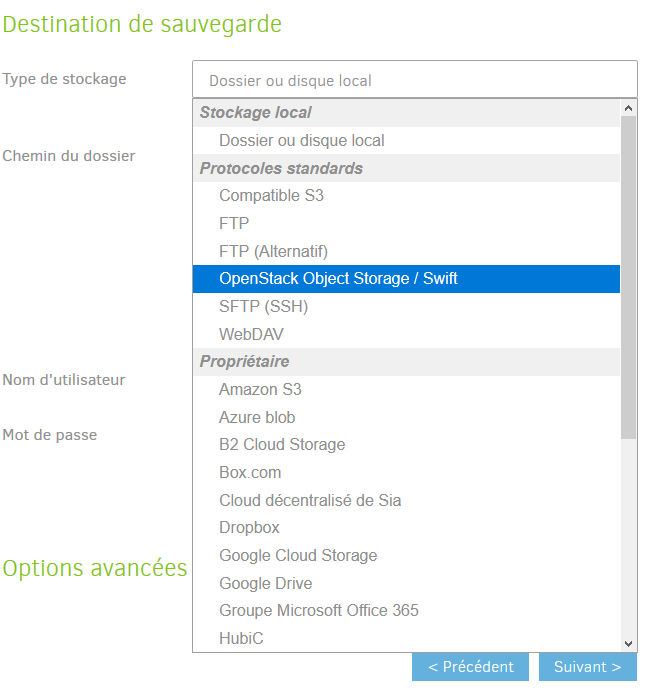
We want to store them in the OVH cloud, in the container we created previously. To do this, open the Storage type drop-down list and select OpenStack Object Storage/Swift.
Sorry for the screenshot in French
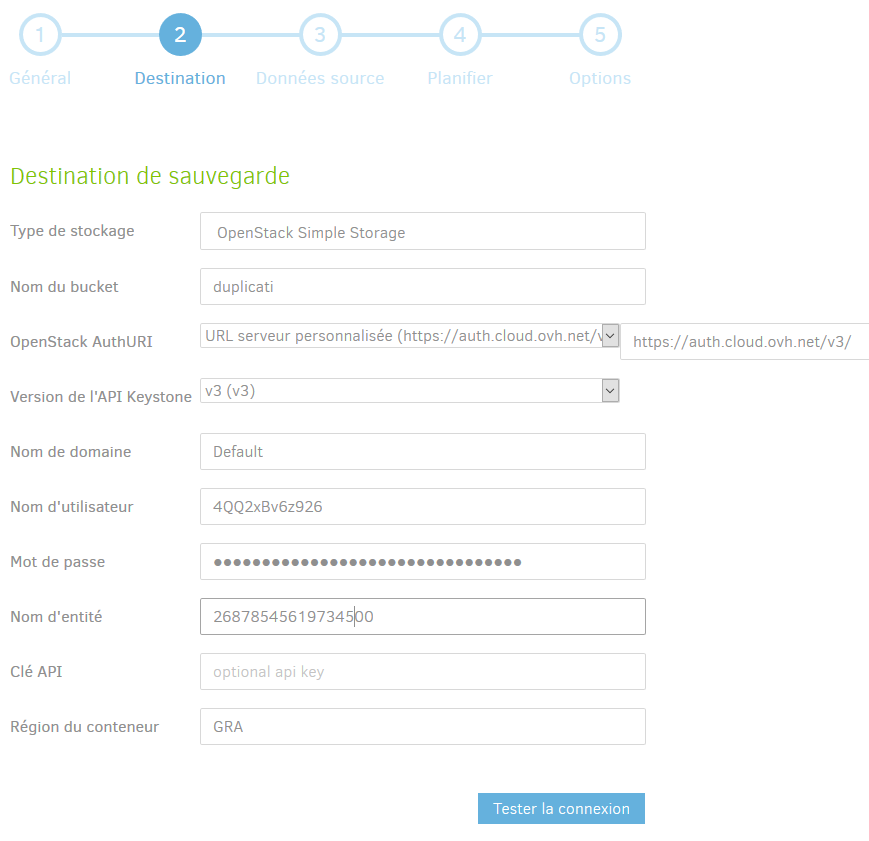
New fields appear, which we will complete, among other things, using the OpenStack configuration file that we have retrieved.
- OpenStack type: Object Storage / Swift
- Bucket name: The name of the container you created at OVH. We called it backups,
- OpenStack AuthURI2: URL for calls to OpenStack. You must select _ Custom server URL () _ and fill in what is under
OS_AUTH_URLin the configuration file. Should be https://auth.cloud.ovh.net/v3/, - KeyStone API version: API version, corresponds to
OS_IDENTITY_API_VERSION, should be v3, - Domain name: Write Default, in full,
- Username: The username, the one provided by OVH when creating your user, corresponds to
OS_USERNAME, - Password: The password of your user, given by the web interface and that you had taken care to write down,
- Entity name: Note what is under
OS_TENANT_NAMEin your configuration file, - API key: Leave empty,
- Container region: this is the region you selected, in our case GRA, corresponds to
OS_REGION_NAME.
First click on Test Connection to verify that you have entered everything correctly. If all is well, click on Next at the bottom of the page.
Datas to backup
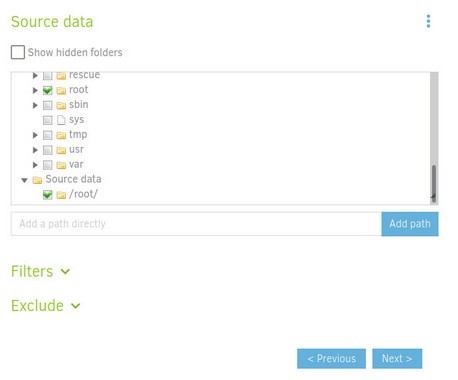
The third page concerns the data you want to back up.
Via a file browser, all you have to do is browse your hard drive, and check the boxes corresponding to what you want to save. These can be specific documents or directories.
duplicati provides filters to exclude or include certain files, thanks to regular expressions, and preconfigured filters to exclude hidden files, system files, temporary files or files that are too large. For example, when there is something that we do not want to save, but which is located in a checked directory, we prefix it with DoNotSave, and put a filter to exclude everything that begins with this keyword ...
Schedule
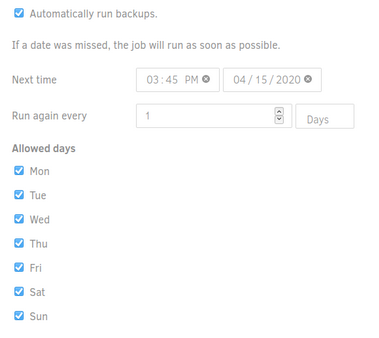
The fourth screen concerns the timing and regularity of backups.
By checking the Start automatic backups box, duplicati will take care of performing the backup regularly. Otherwise, you will have to throw them by hand.
- Next time: Set the time for the next automatic backup. This time will be used as a basis for the rest (if you ask to launch a backup every day, this time will be chosen),
- Repeat every: Used to define the pattern. The first box allows you to define the number of times, and the second box the unit (minutes, hours, days, week, month, years). We can therefore ask "3 times a week", "once a year" ...
- Authorized days: If you have constraints, you can uncheck the boxes to prevent the backup on certain days of the week.
Then click on Next.
Options
Finally, the last page allows you to define some more advanced options:
- Size of the remote volume: used to define the size of the pieces of files sent,
- Backup retention: allows to define the backup retention policy, i.e how long
duplicatewill keep what. You have the choice between:- keep all backups,
- delete the oldest backups (providing a delta in days, months or years),
- keep a specific number of backups, the oldest being deleted,
- intelligent backup: keeps 1 backup per day over the last 7 days, one per week over the last 4 weeks and one per month over the twelve 12 months, this is the configuration recommended by
duplicati, - personalized backup: by entering what you want yourself.
- Advanced options: These are very specific options to be passed directly to the server. Your best bet is not to touch it if you don't know what you are doing.
For example, I used the advanced options to ask
duplicatito run a specific script before any backup. Very useful if you have data to retrieve from another server first.
Then click on Save.

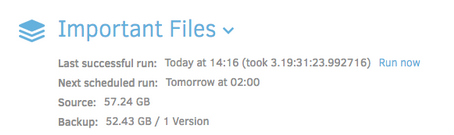
You will finally be redirected to the dashboard where you can see your backup. If you do not want to wait for the next scheduled backup to run, click Run now.
Restore the content of your backups
Say you lost a file and want to restore it.
In the left menu, click on Restore.
Select your backup and click on Next.
You will then have to choose what you want to restore.
- Restore from: Allows you to choose from which backup you want to restore files, select the date of the backup that interests you.
- Search for files: Allows you to perform a search, if you want a specific file.
Check the boxes corresponding to the files you want to recover. click on Continue.
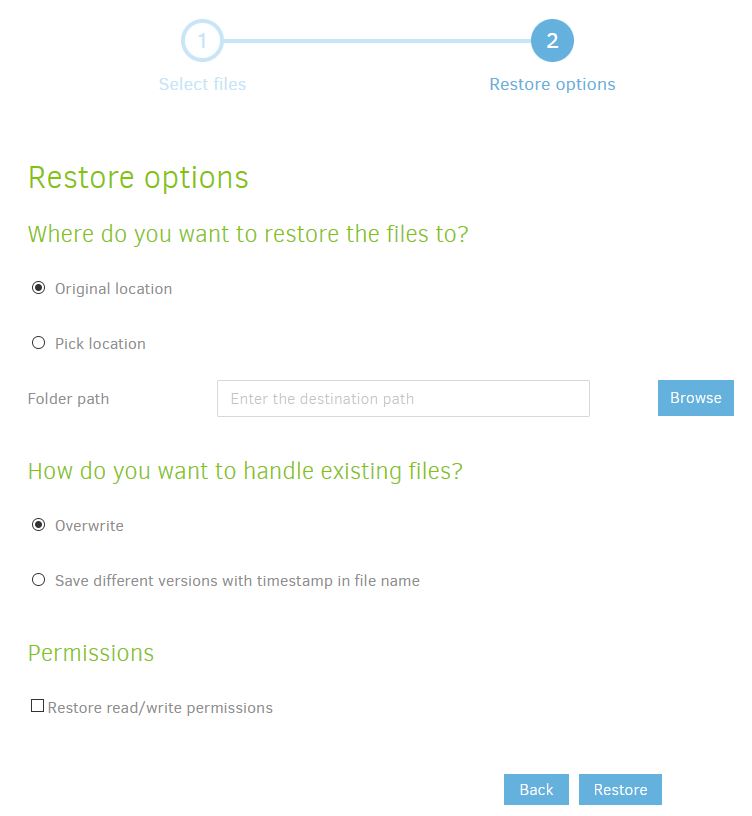
Next, you will need to define where and how to retrieve your data.
- Where do you want to restore your files?
- Original location: Restores files to where they were originally,
- Choose location: Allows you to define a directory in which the files will be restored. Provide a path.
- How do you want to treat the existing files?
- Overwrite: If the file already exists, it will be overwritten by the one from the backup,
- Save different versions with timestamp in the file name: As the name suggests.
- Permissions:
- Restore read / write rights: allows you to restore file access rights.
Personally, I have a habit of restoring my files to a specific location, and then moving them to the original directory if necessary.
Click on Restore.
And after
If you are worried about losing important files, you now have a remote backup that is unreadable for the host, but accessible by you in a convenient and user-friendly way.
Your data will therefore be sent on a regular and automatic basis and you will no longer have to worry. On the other hand, don't hesitate to keep your OVH user password and your passphrase in a safe place. Without it, if your backup server crashes, you will no longer be able to recover your data.