Installation of VitalPBX (3.0)
Spoiler: A prerequisite for any attempt at IP telephony at home (or at the office), installing the PBX can sometimes be scary. That’s good, we found one practical and easy to install and we’ll show you how.
We have been using VitalPBX for a little over a year as our SIP server. And we have already shown you a lot of things to set it up in a cool way. After an overhaul of our IS, we decided to reinstall it in a more up-to-date version (3.0.3-1 to be precise).

This page concerns version 3.0.
Installation
Get the latest version iso from the official website. You will have to boot from it.
If you install it in a virtual machine, just put the iso in the virtual CD drive, if you do it on a physical machine, you need to burn the iso to CD first, then restart the computer to boot from the CD.
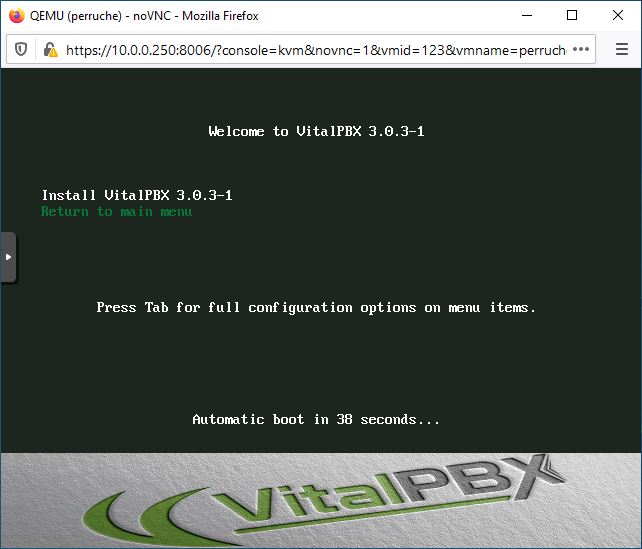
At startup, VitaPBX welcomes you (nice from it). Press Enter to go to the next step (you can also wait 45 seconds, that works too).
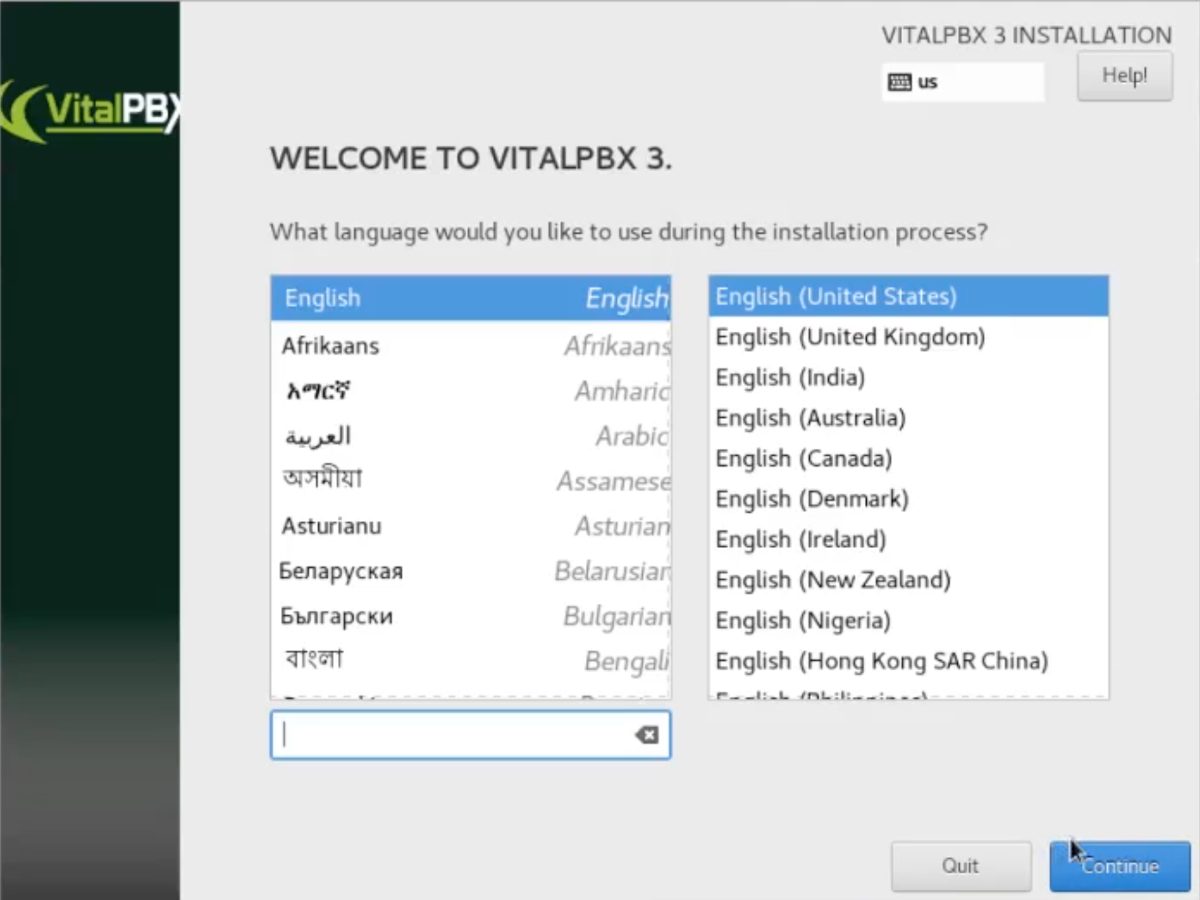
Here you are in the installer. Select your language, and press Continue.
The summary tells you that only the keyboard layout requires your attention … But on closer inspection, the time zone is not correct.
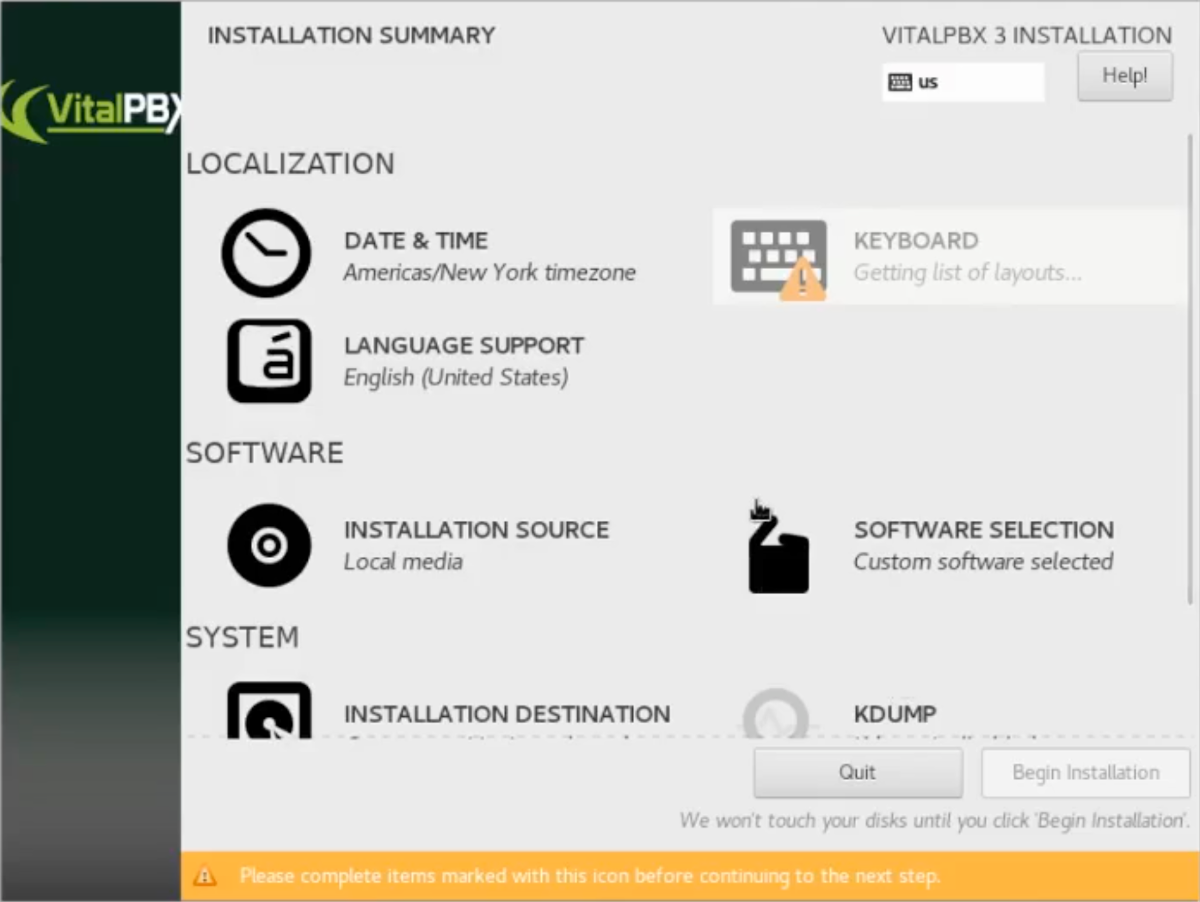
Click on “Date and time” to configure the time zone then click on the correct one on the map.

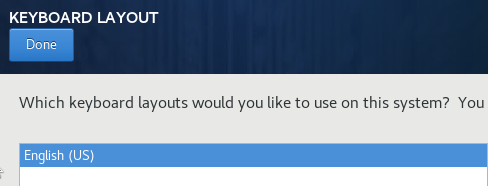
As you have chosen a language for the installation, the proposed keyboard layout is directly the right. Just click on Finish at the top left of the screen to confirm.
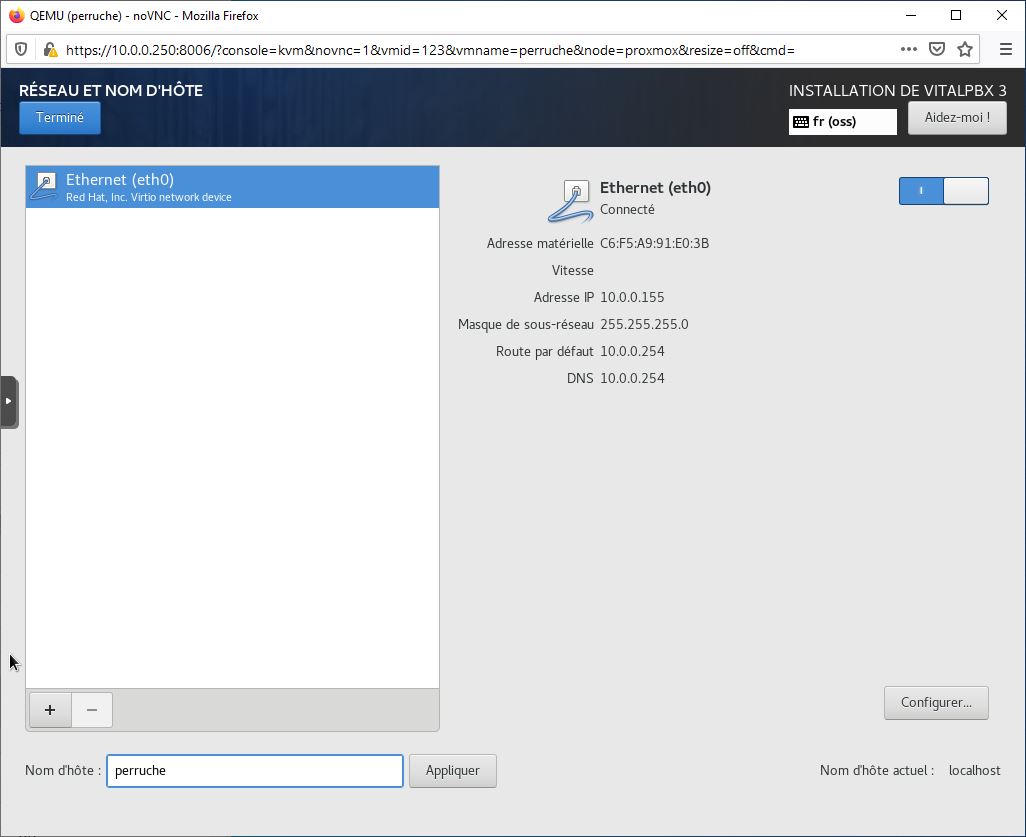
No other element requires your attention, but as we are finicky, we took the opportunity to configure the name of the machine … For that we click on the network configuration and at the bottom, we specify its name (optional, therefore essential).
This time, it’s the right one, click on Start installation at the bottom right.
While the Centos and VitalPBX are installing, you are prompted to manage the users of the system. Configure your administrator password by clicking on Administrator password.
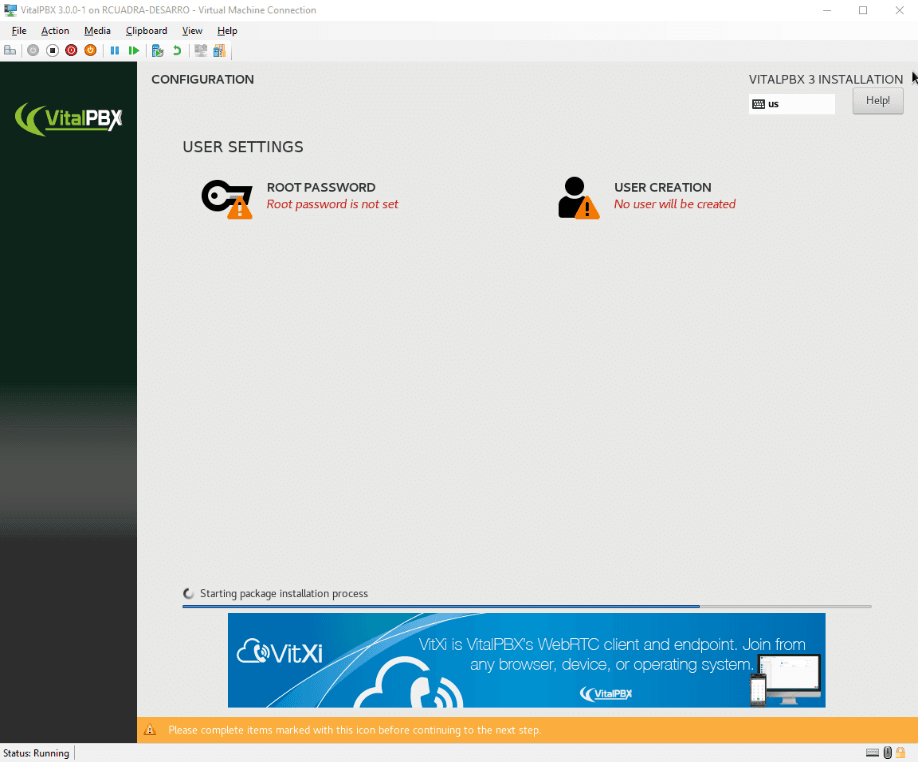
Enter your password, a first time in Administrator password and a second time in Confirm. Validate by clicking on Finish (top left).
It is not necessary to create a user to complete the installation of VitalPBX. Just wait patiently for the step progress bar to finish.
The installation is finished, the PC reboots (don’t forget to remove the CD). Your IPBX is installed, and you can configure it via its web interface.
Note that SSH is open by default and the root account is accessible by SSH by default as well.
As you can see, there is no difficulty with this installation. If you don’t find the button to validate the page, which is sometimes at the top left, sometimes at the bottom right …