Digitize analog cassettes (VHS or 8mm) with Linux
Spoiler: Whether you're nostalgic or just for an expertise you need sometimes to digitize old video tapes. Here is how to digitize analog tapes with Linux using VLC, ffmpeg and an acquisition key connected to a VCR or camcorder.
Sometimes when you get an order for a forensic examination you end up with unexpected requests. So I was surprised when I was asked to digitize old magnetic videotapes. And even more when after retrieving my seals and inventoring their contents I noticed that there were several types of tape.

Fortunately, even though they require different materials to read them, it’s the same way to digitize VHSC and 8mm tapes. That’s the subject of this article.
What are we talking about ?
For those who lived in the 80s and 90s, you have surely come across video tapes. The world of magnetic tapes then separated into two worlds: that of reading and that of shooting.
Living room side
When you wanted to watch a store-bought movie or record a TV show, you used a VCR.
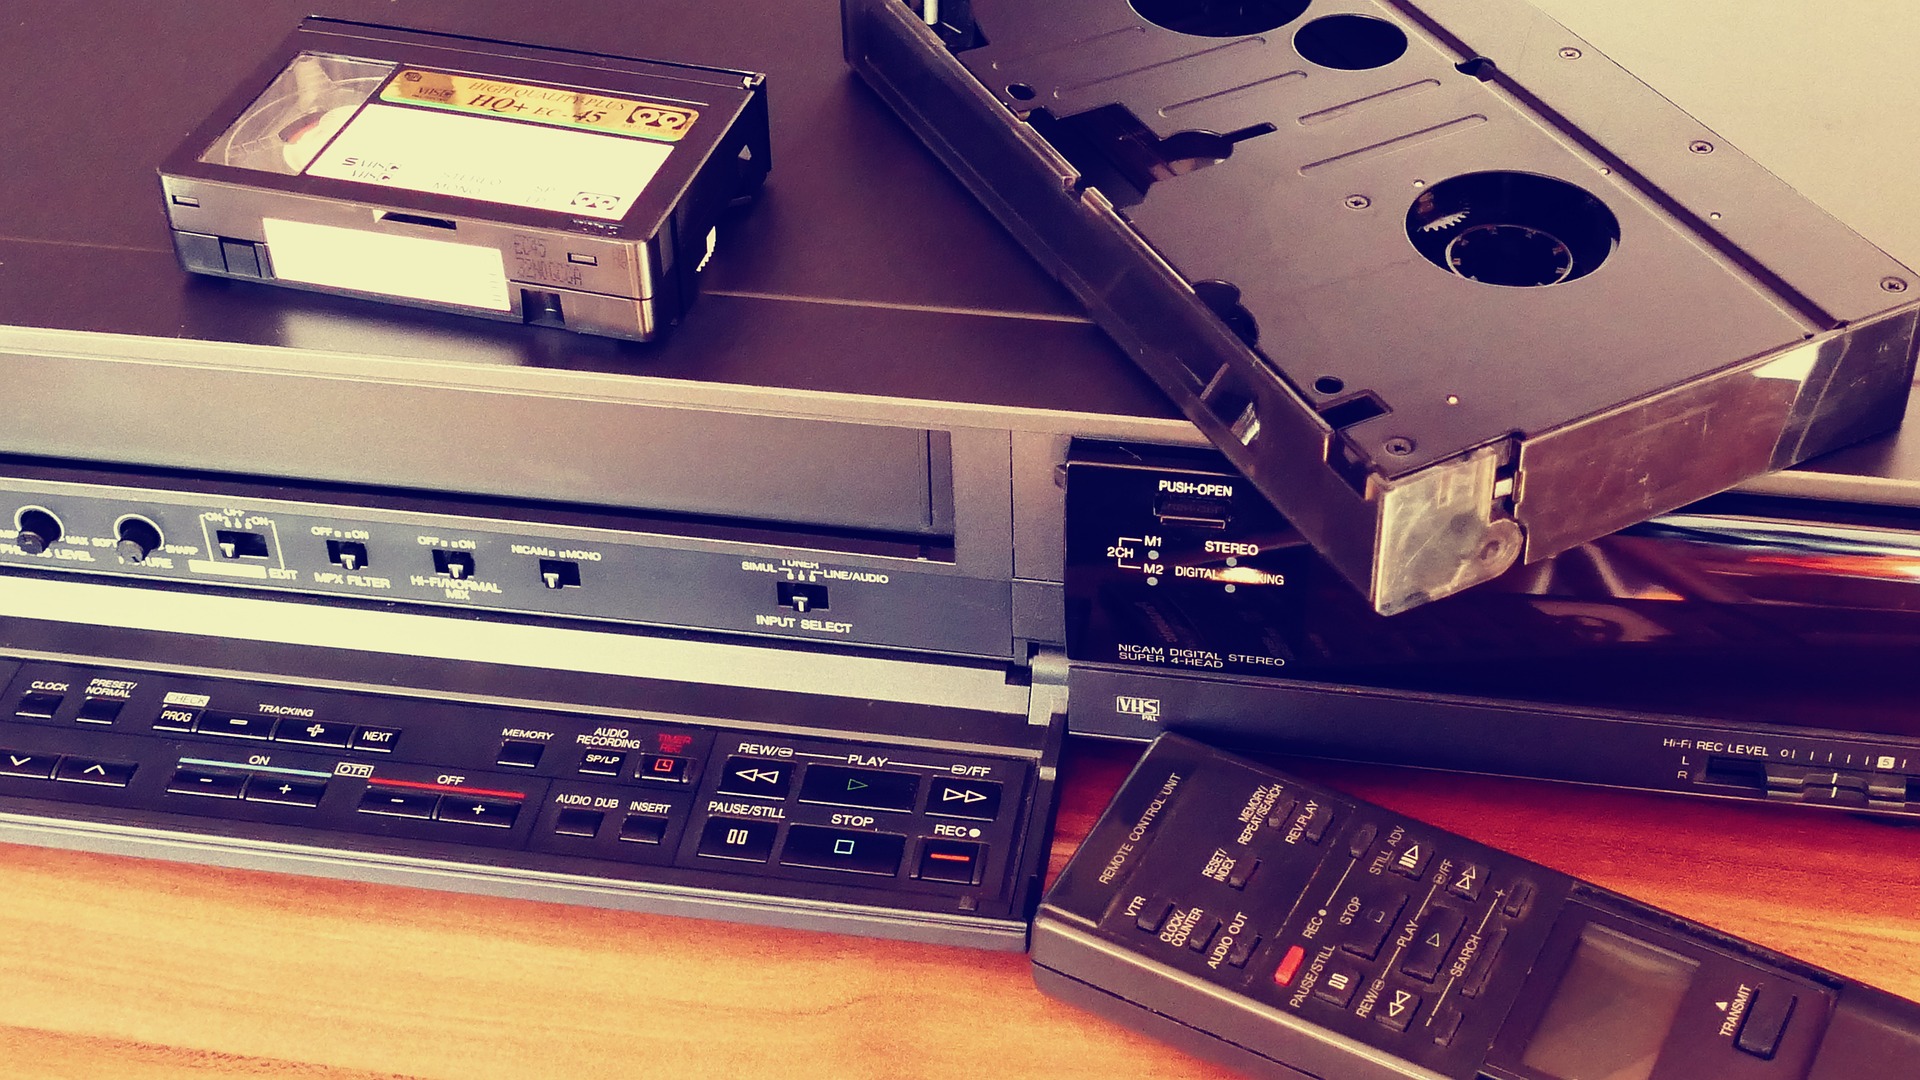
It’s quite sure you use VHS tapes in your VCR as that was the format used predominantly around the world. The big challenger of the VHS being the Betamax.
VHS won the format war against Betamax. The reasons would be various:
- The VHS video recorder was much cheaper than the Betamax video recorder,
- The capacity of Betamax tapes was 60 minutes, compared to up to 3 hours for VHS. History would have it that Americans preferred it because they could record the super bowl. In reality, this limitation would have mainly prevented the studios from broadcasting their films on Betamax, these exceeding the capacity of the tapes,
- History would also have it that the adult film industry, which exclusively used VHS following Sony's opposition to seeing pornographic films on Betamax tapes, contributed greatly to the victory. The market remaining a niche, it seems that this anecdote is a legend.
Shooting side
Consumer camcorders also existed. For these, the cassette format depended on the brand.
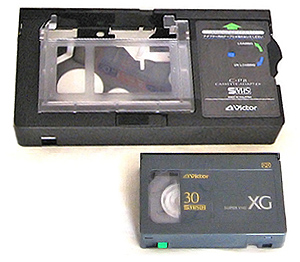
While a few rare JVC brand camcorders used VHS, the majority used VHS-C tapes. Smaller than VHS, but compatible, they could be played on your VCR if you had the adapter.
On the SONY side, the camcorders used 8mm cassettes (or one of its derivatives: video8, Hi8). Incompatible with the VCR (which took only VHS). To see them on your TV, you therefore had to plug in your camcorder.
Color standards
You should know that the color coding standards were not the same depending on the geographical area of the globe on which you were:
- In France, we used SECAM,
- In Germany and Belgium it was PAL,
- The Americans used the NTSC.
If you have a color problem while playing your tape, it is because you are using a tape from one country on a VCR in another1.
Connect your digitization equipment
In order to digitize your tape, you will therefore need the equipment to play it back, ie a VCR or camcorder with the correct color standard.
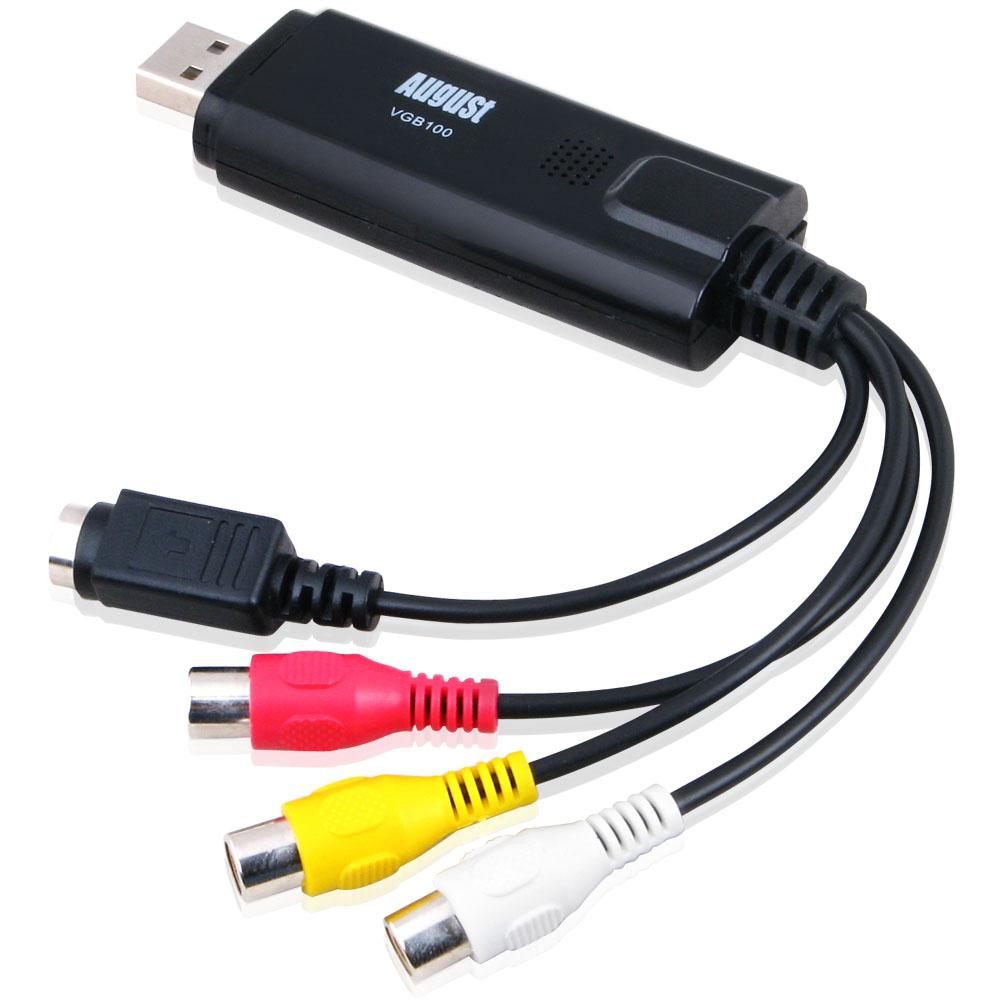
But since the outputs of these devices are analog you will need an acquisition key for the conversion to digital format. Your acquisition key will obviously have to be compatible with Linux.
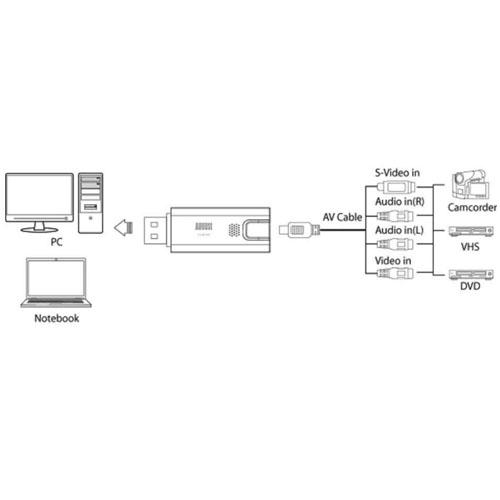
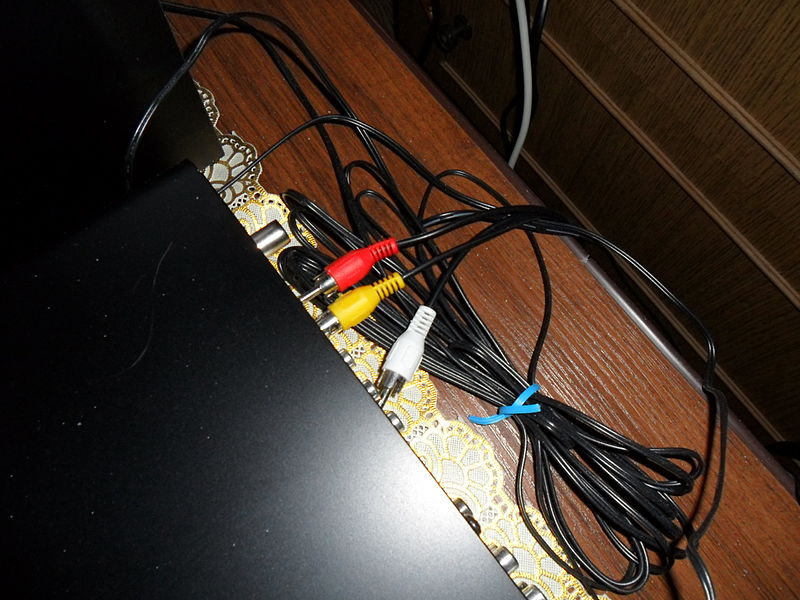
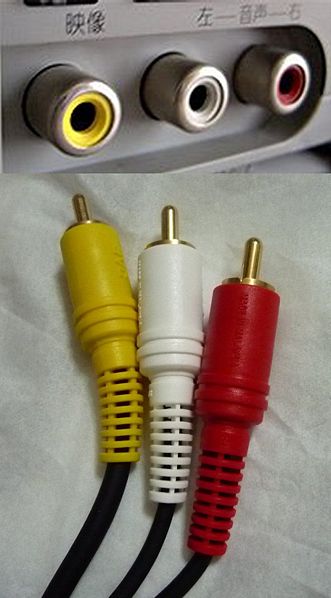
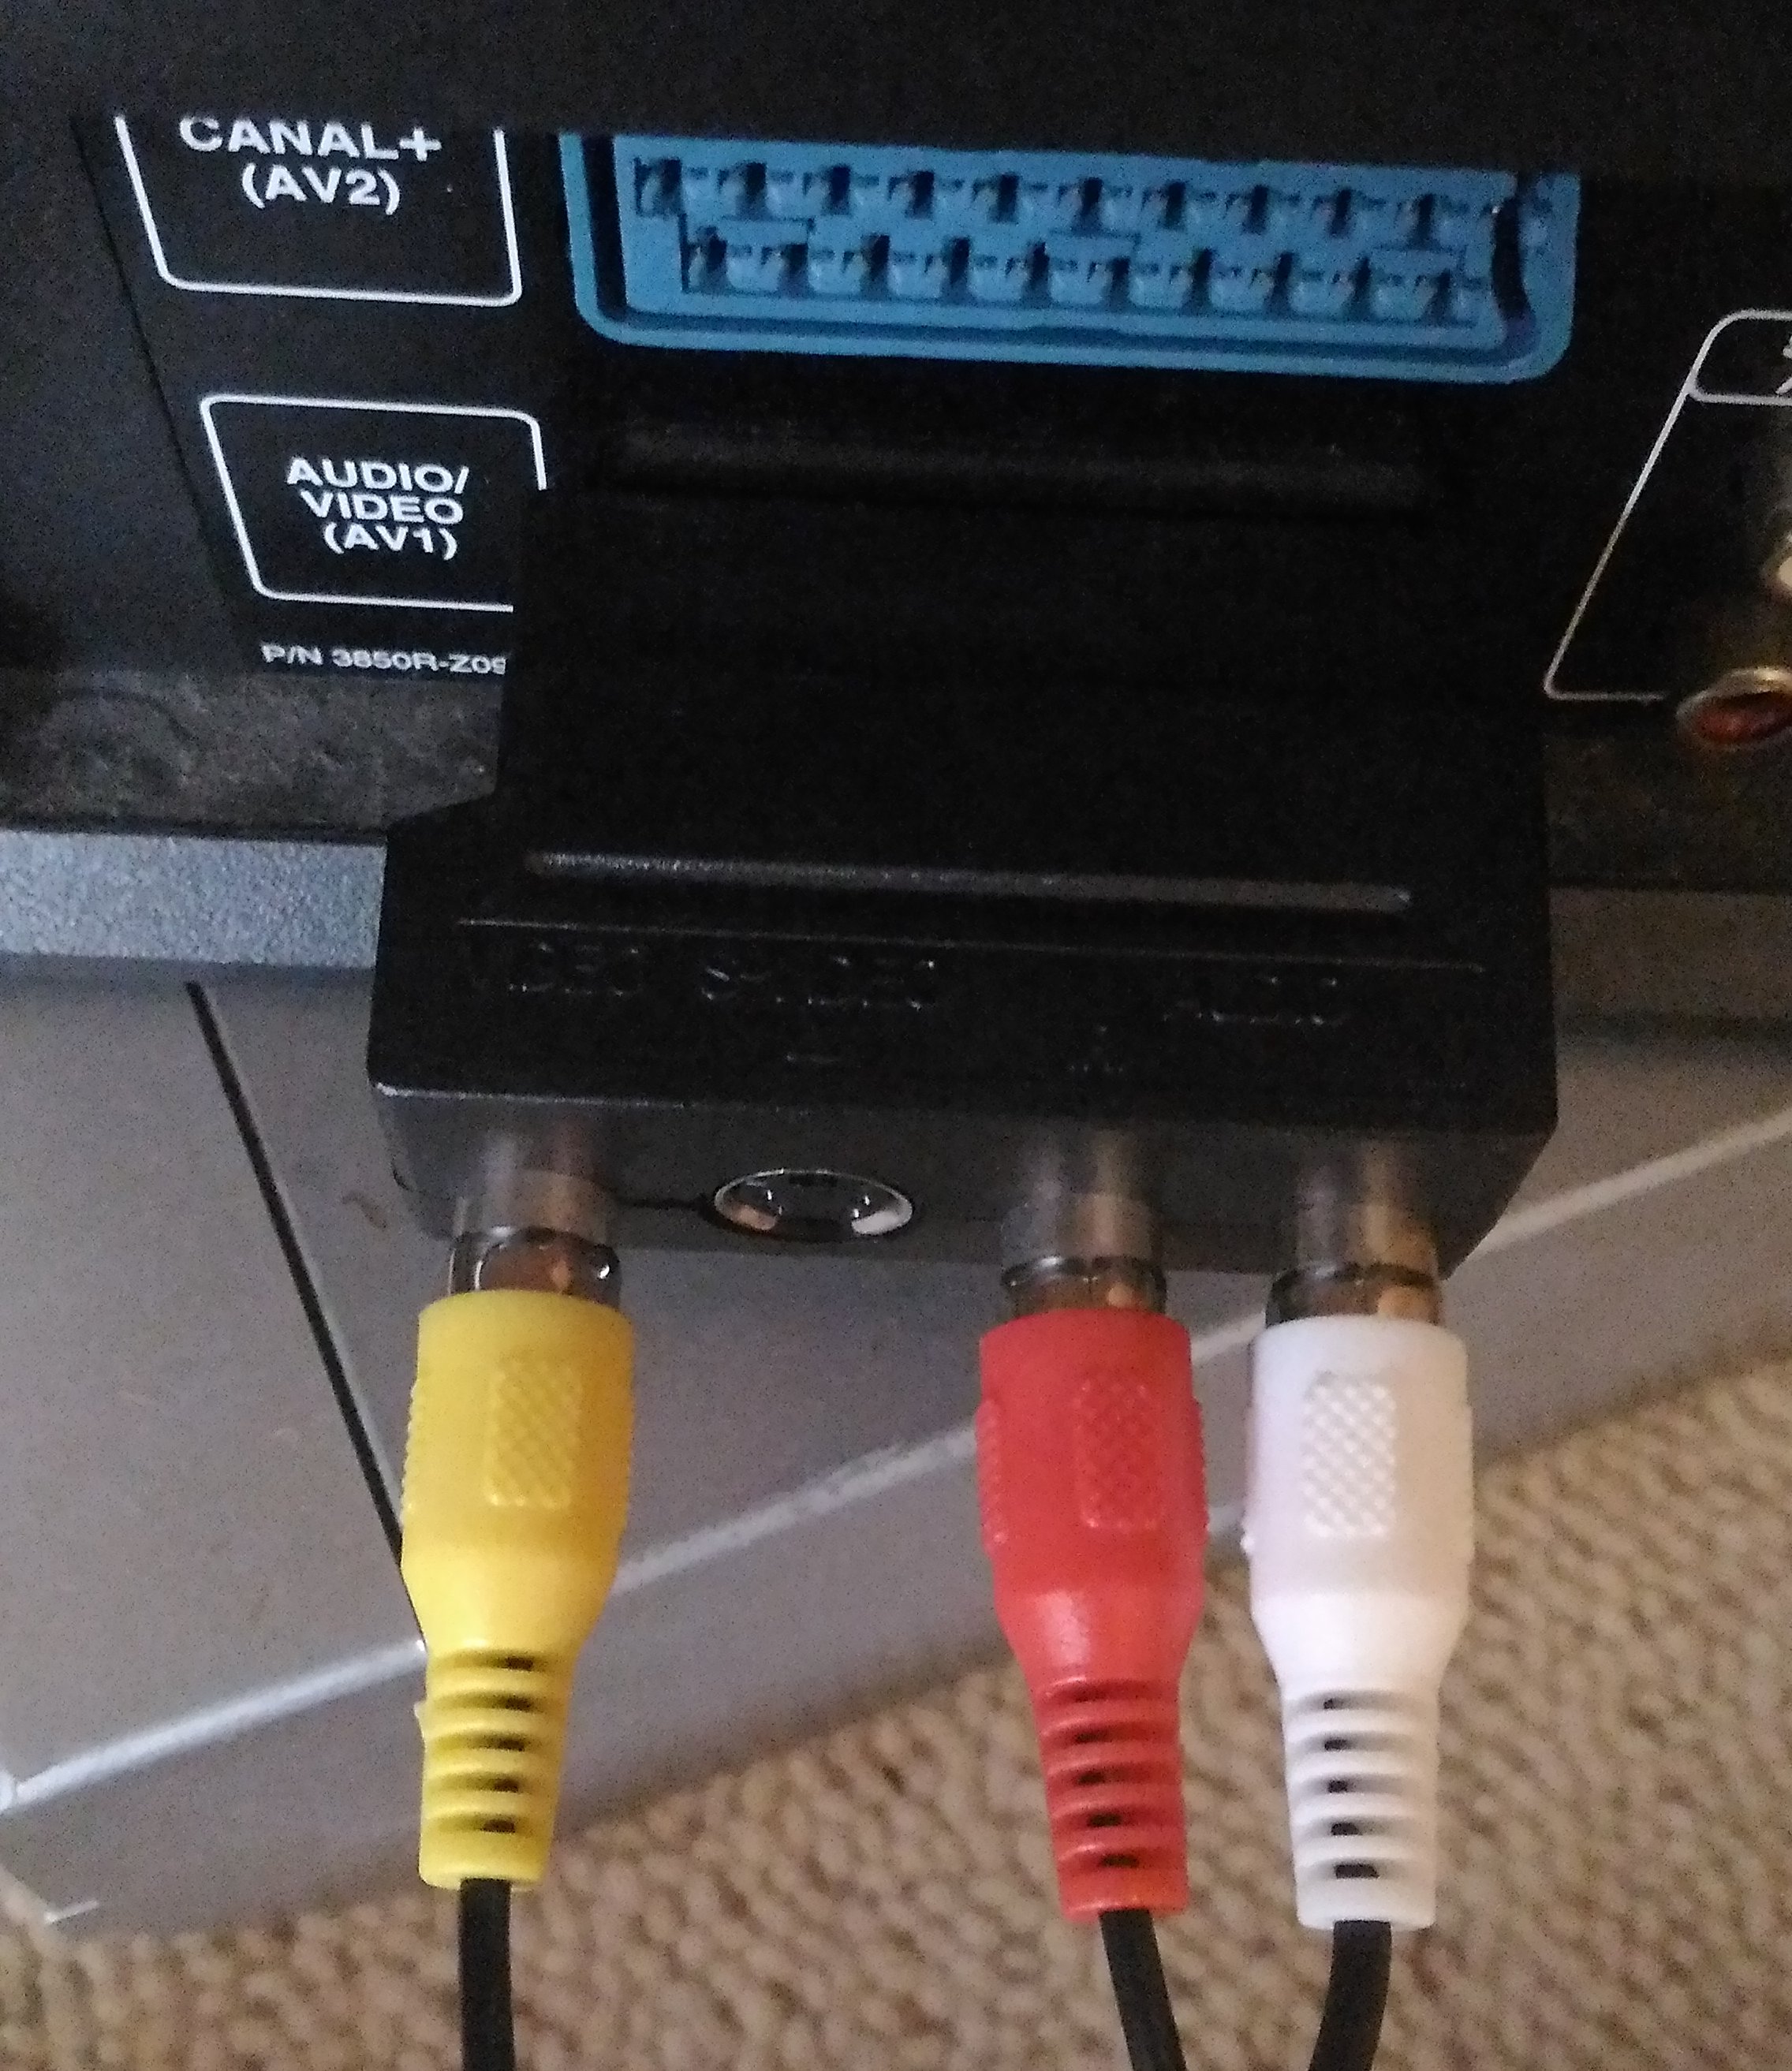
Whether with a camcorder or with a VCR the process for digitization will be the same. On the one hand, you will have to connect your RCA2 composite cables to the equipment that allows you to play your tape, on the other, you will have to connect the key to your computer.
In this article, we are using the August VGB100 key, supported by the CS231XX driver, but technically any such adapter will work similarly.
Analog player side
Nothing very difficult. You must connect the equipment (VCR or camcorder) allowing you to play your cassette to an RCA cable.
Depending on its age, your device may not have an RCA output, but something else. In the case of VCRs, you will need to use the VCR's SCART socket and a SCART / RCA adapter.
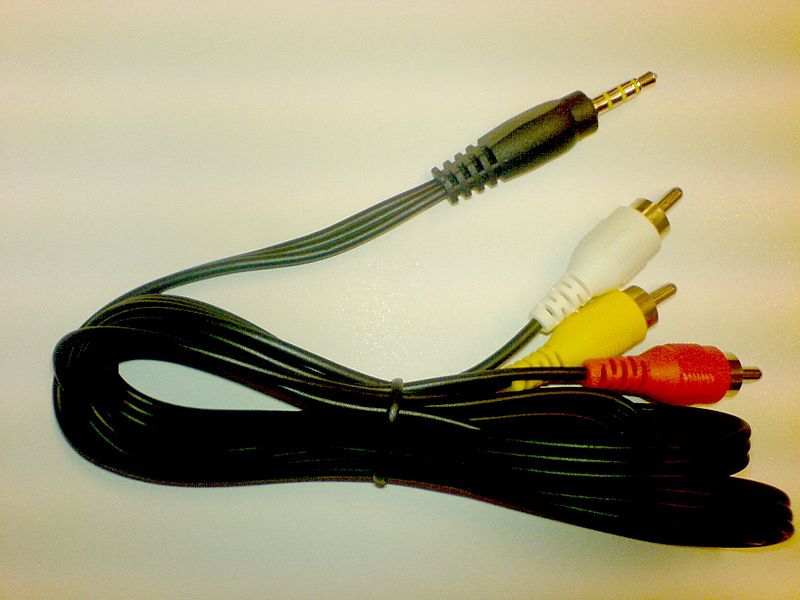
In the case of camcorders, if you don't have an RCA plug then you will have a Jack plug and will need to use a Jack / RCA adapter.
Digital computer side
Then connect the other end of your RCA cable to your acquisition key, and the key to a USB port on your computer.
We check that the key is recognized by running the lsusb command. A "Video Capture" device should appear in the list.
aryliin@koala:~$ lsusb
[...]
Bus 001 Device 009: ID 1f4d:0102 G-Tek Electronics Group Video Capture
[...]
Identify devices
Now that everything is connected, we will have to identify the devices (we will need them later during the capture).
Video side
Video devices are in /dev/videoX where X is a number.
aryliin@koala:~$ ls /dev/video*
/dev/video0  /dev/video1  /dev/video2
In order to determine which one corresponds to our key, we use udevadm, asking it to provide us with all possible information about the devices.
Since the acquisition card driver is CX231XX, when you find the device using it, it's the right one.
aryliin@koala:~$ for i in /dev/video*; do echo "$i"; udevadm info --query=all --attribute-walk --name=$i | grep -E "name"; done
/dev/video0
    ATTR{name}=="HD Pro Webcam C920"
/dev/video1
    ATTR{name}=="HD Pro Webcam C920"
/dev/video2
    ATTR{name}=="cx231xx #0 video"
In our case, the video device corresponding to our key is therefore /dev/video2.
Sound side
You have to look in the /proc/asound/cards file and look again for the CX231XX driver.
aryliin@koala:~/git/www$ cat /proc/asound/cards
 0 [NVidia         ]: HDA-Intel - HDA NVidia
                      HDA NVidia at 0xee000000 irq 36
 1 [C920           ]: USB-Audio - HD Pro Webcam C920
                      HD Pro Webcam C920 at usb-0000:00:1d.7-2, high speed
 2 [Cx231xxAudio   ]: Cx231xx-Audio - Cx231xx Audio
                      Conexant cx231xx Audio
For the rest, the name of your device will be of the form hw:number,0, where numero is the number of your device in the/proc/asound/cards file (and 0 is the identifier of the audio input, we would use 1 if we wanted the second input of the device).
In my case, the audio device will be identified by hw:2.0.
Digitize the cassette
Record your video
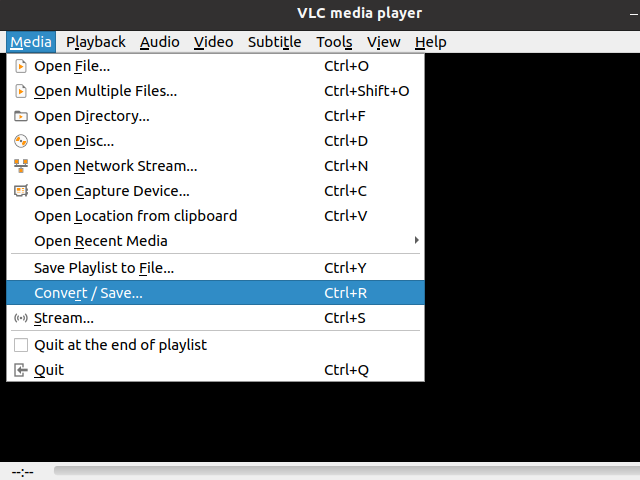
Start VLC. In the Media menu of VLC, click on Convert/Save.
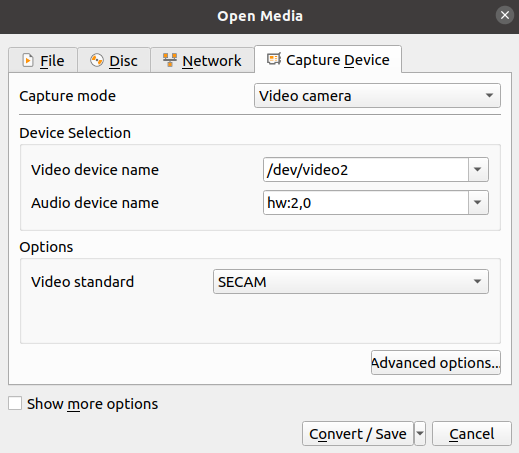
In the last tab, named Capture device, enter the name of the video device (in our case /dev/video2) and of the audio device (in our casehw:2,0), then the standard with which a been recorded your tape in Standard video. Click on Convert / Save.
As I was not the author of videotapes, I did not know the standard used. I counted on the fact that the recordings were made in France and that they were most likely to be SECAM.
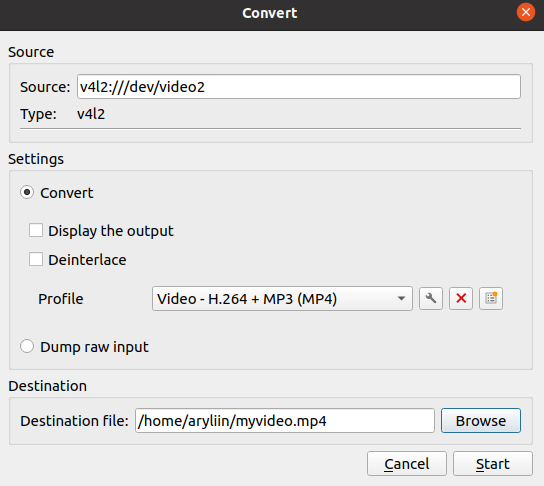
In the next window, you will have to at least fill in the destination file in which you want to put your video.
If you know a little about video format and have specific preferences, this is also the place where you can choose whether you want a video in mp4 or even in webm ...
Then click on Start. VLC records what happens on your acquisition card. That is to say, nothing at the moment.
At this point, start your video on your VCR or your camcorder by pressing the Play button and go have a coffee… You will have to wait for your film to pass in full before being able to retrieve it. At the end of your tape, stop digitize it in VLC by clicking the stop button (the small square icon).
The few seconds that will pass between the moment you click on Start and the moment you launch your video will appear in blue in your video. Likewise, if you didn’t come back from your coffee fast enough and your video finished before you stopped recording in VLC, you will also have blue.
Cut your videos
You have digitized your video, and even being as precise as possible, you can hardly stop VLC when the tape is finished, so you must have blue at the beginning and / or at the end of your video file.
In order to cut out that unsightly blue and have a file that begins directly at the start of the video, first write down the start and end timestamps of your video.
Then cut your video using command line ffmpeg, with the following arguments:
- -ss < start of the video timestamp> : in hours:minutes:seconds.milisec, the moment from which you want to recover your video,
- -to < end of the video timestamp> : in hours:minutes:seconds.milisec, the moment when you want your video to stop,
- -i < video> : your input video file, the one to cut,
- -c:v copy : keep the original video codec
- -c:a copy : keep the original audio codec
- < name of the final video > : the name of your output video, the one that will be cut
For example, to overlap mavideo.mp4 and keep only what is between second 1 and second 5, and put everything in mywonderfulvideo.mp4, the command is:
aryliin@koala:~$ ffmpeg -ss 00:00:01 -to 00:00:05 -i mavideo.mp4 -c:v copy -c:a copy mywonderfulvideo.mp4And after ?
Now you can watch your old family videos or old movies on your computer. Perhaps the most complicated is to find a device in working order to read your cassettes. Personally, I had to bring in an 8mm camcorder from England ...