Digitize MiniDV tapes with Linux
Spoiler: Among the magnetic tapes, there are analog formats and digital formats. As we will see, the digital format is much easier to transfer to a computer than the analog one. As the MiniDV is digital storage, no converter is needed. You will need to connect the camcorder to the FireWire port of your computer and use the dvgrab software, specially created to retrieve data in DV format from a FireWire port.
In the 1980s and 1990s, most magnetic tapes for recording video used analog storage. This was the case for example with VHS tapes.
The late 90s saw a revolution, with the digital storage of data on magnetic tapes used in camcorders. In 1996, the “DV” format was released, which was used the same year for storing data on “MiniDV” cassettes.

As the computers do not have a cassette player (we searched, we did not find any), we cannot play these tapes directly. Although they will not require the use of a converter and transcoder, it will take a few steps to get old movies from tape to hard drive.
Digitizing a MiniDV cassette is therefore a misnomer. We should rather talk about data transfer. But as, on the one hand, the miniDV is a magnetic tape, we think of VHS and we mix it up, and on the other, the term transfer is strongly connoted upload / download on the network, the term "digitization" is then used.
Connect your equipment
To digitize your tape, you must use a camcorder that will act as a player, and connect it to your computer. These camcorders use FireWire1 2 to communicate with the computer, so you will need a suitable cable.
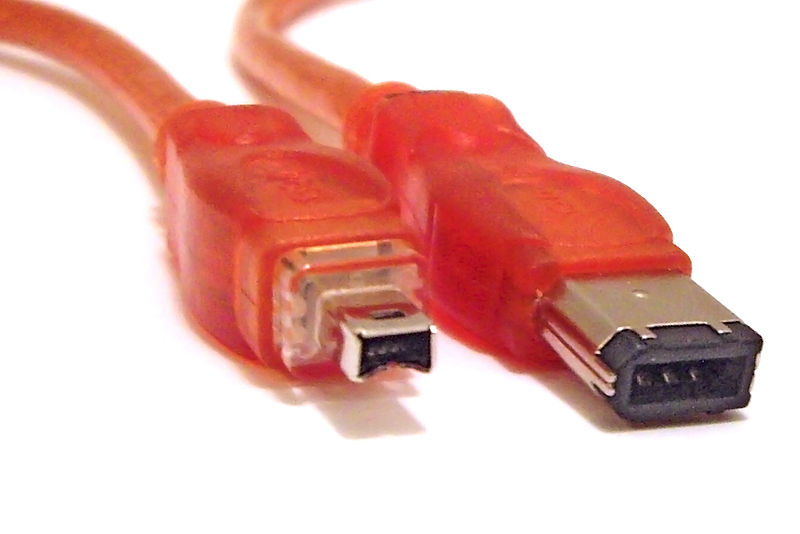
The cable you will need is therefore an IEEE 1394 cable. But since there are some with several different pinouts and a different number of pins, you will need an IEEE1394 S400 cable, with a 4-pins end on the camcorder side, and 6-pins end on PC side.
The S400 format does not allow power to a device, while the S800 format does.
Camcorder side
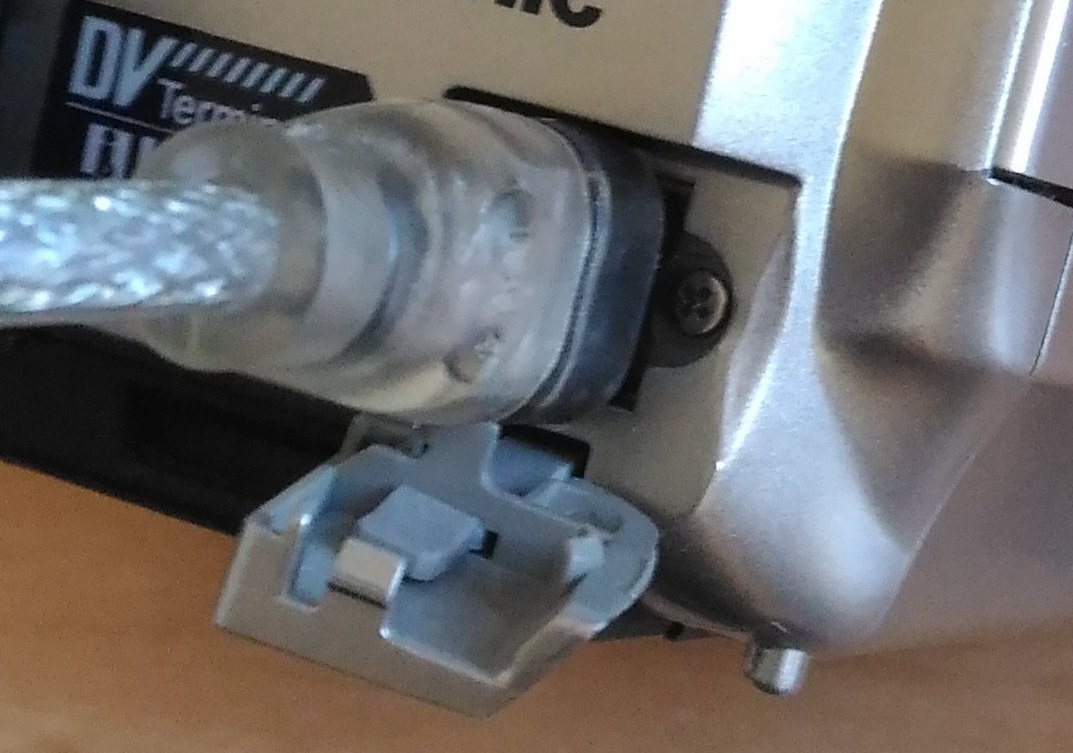
Connect the 4-pin end of your FireWire cable to your camcorder.
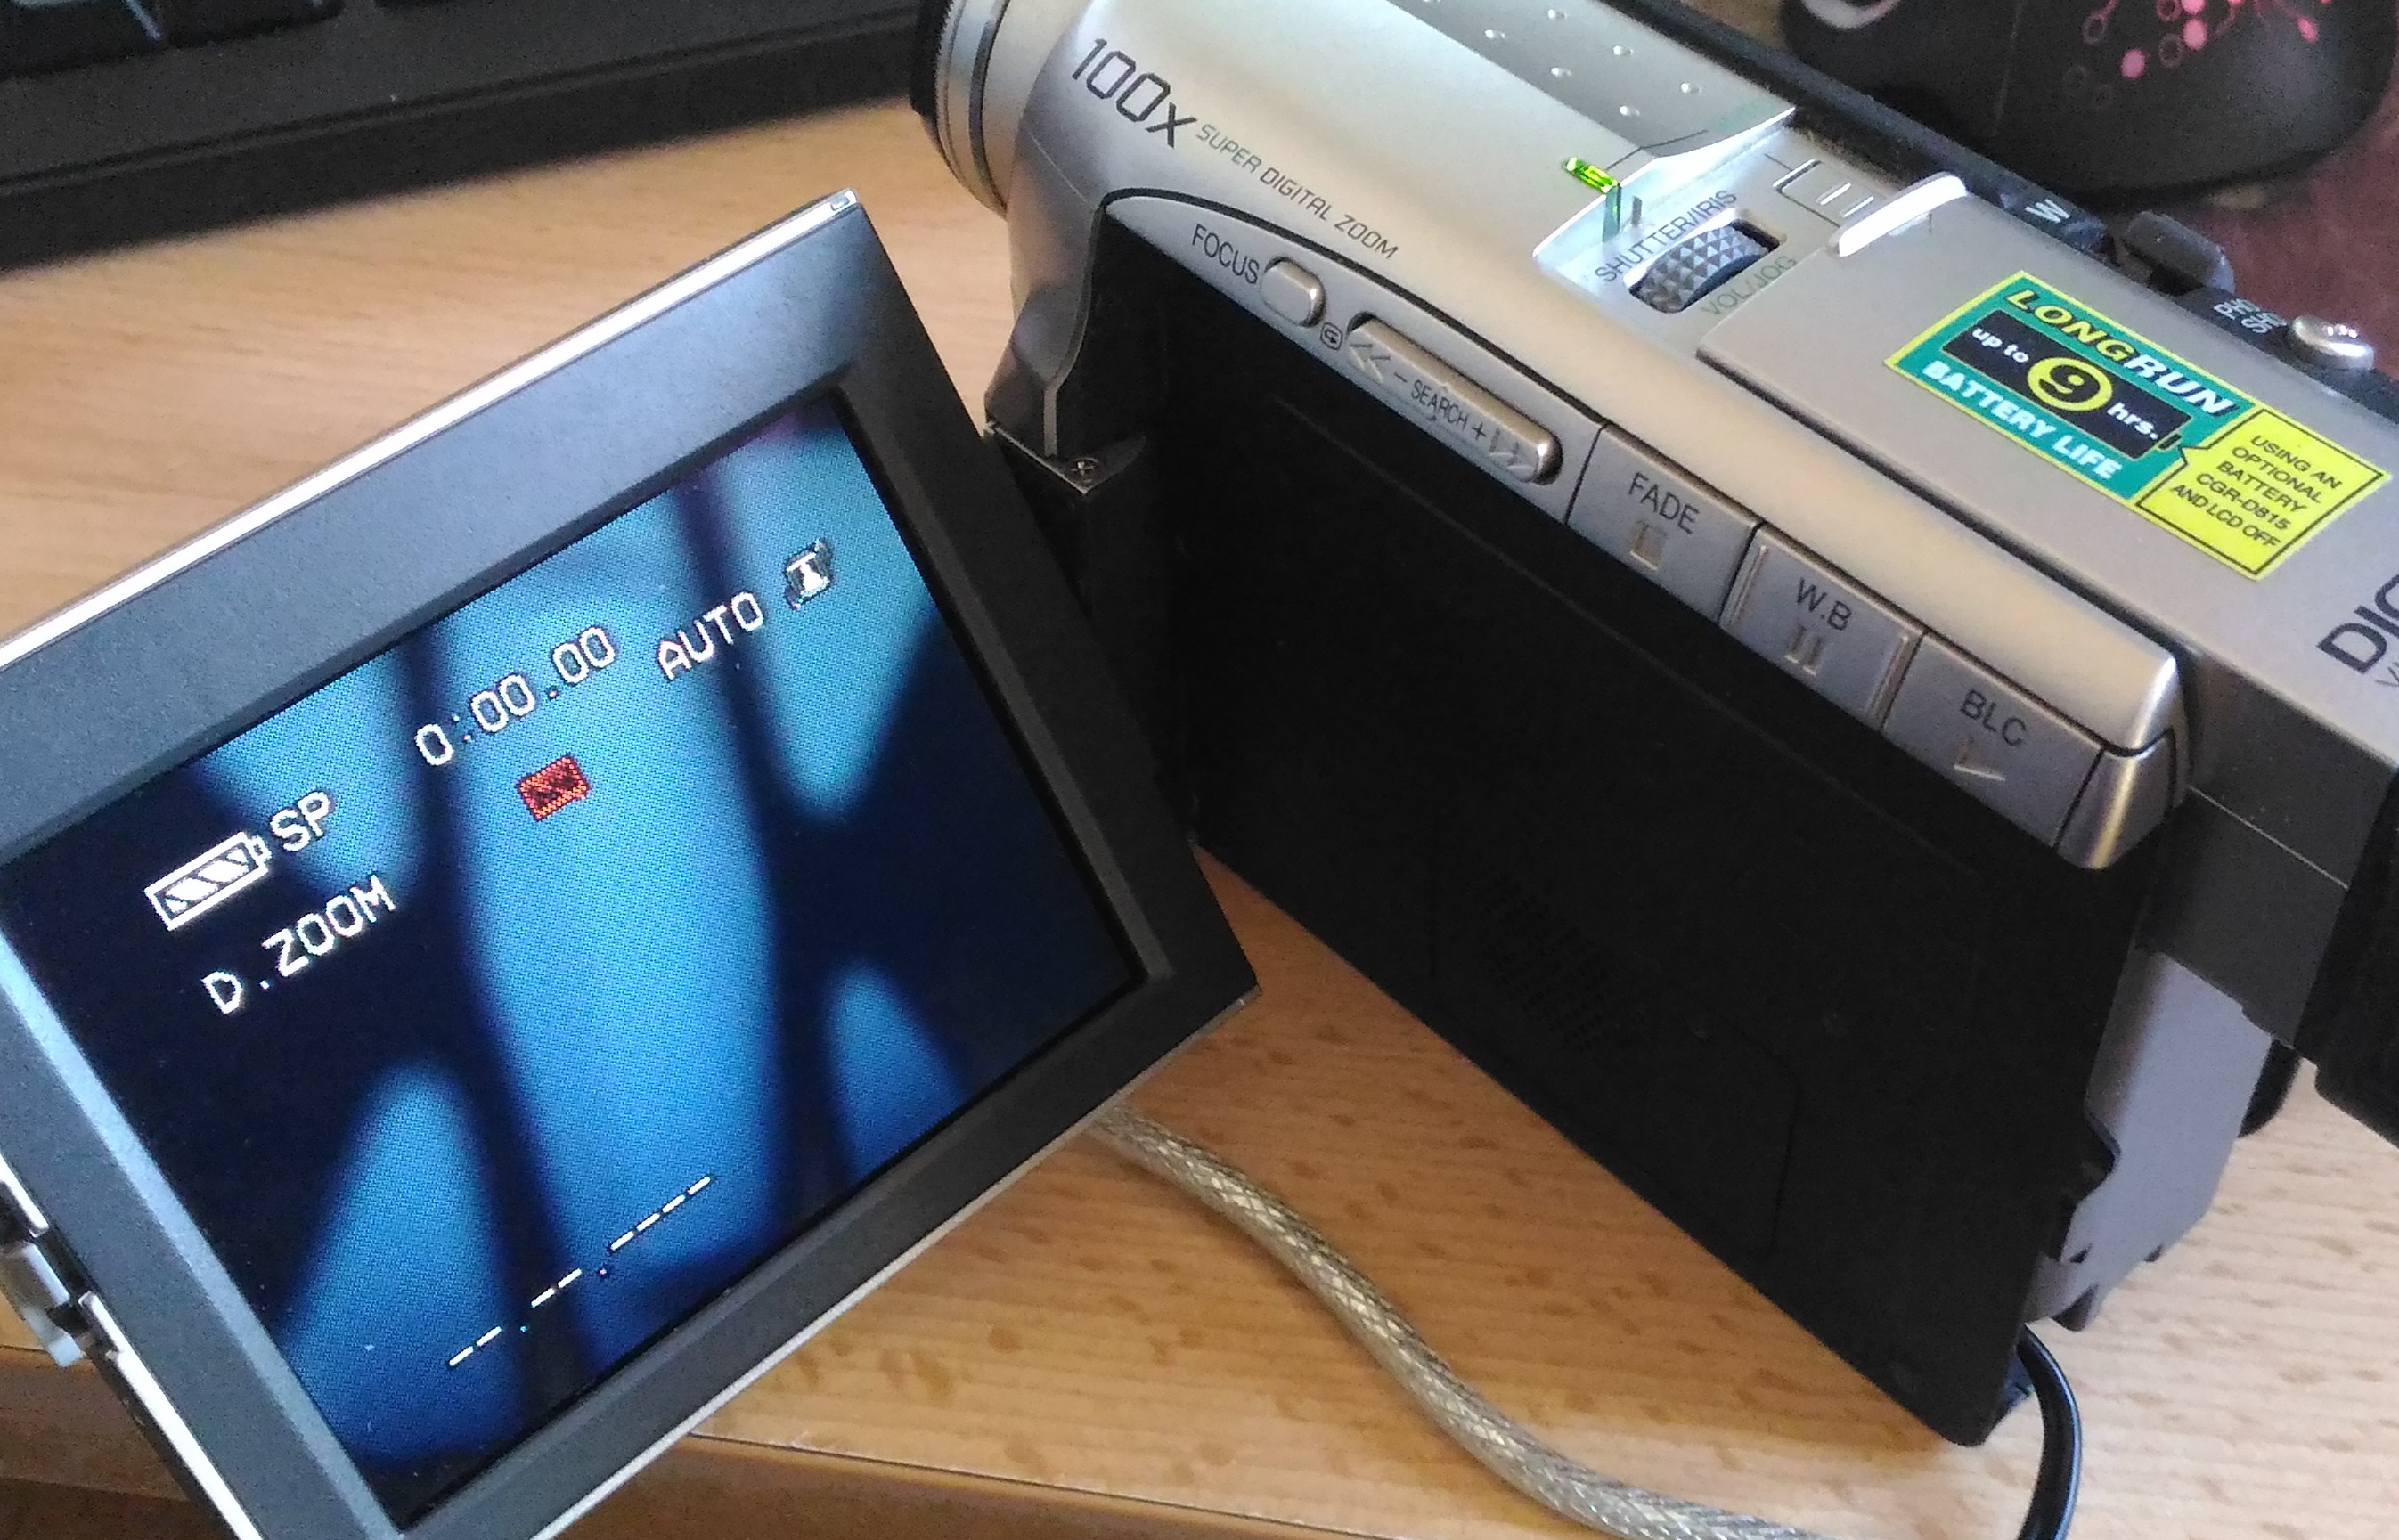
Then turn on the camcorder in data viewing mode (often labeled VCR or VTR).
PC side
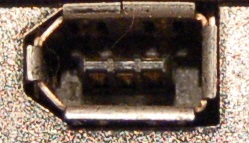
Locate the FireWire port on your computer and plug the 6-pin end of your cable into it.
Your computer may not have a FireWire port. You will need to add a PCIE card to your computer for the occasion.
Tourism. In the format war of external transfer buses, the group of industrialists Compaq, Dec, IBM, Intel, Microsoft, NEC and Northern Telecom won against Apple, Panasonic and Sony. USB has become the majority on computers and FireWire has become anecdotal. MiniDV camcorders are Panasonic and Sony, so they use their format.
To check that the FireWire input is taken into account, we list the peripherals of the PCI bus and filter on the term FireWire or the number of the standard, 1394.
aryliin@koala:~$ lspci | grep FireWire
37:09.0 FireWire (IEEE 1394): LSI Corporation FW322/323 [TrueFire] 1394a Controller (rev 70)
Recover movies
Recovering movies is easily done from the command line with dvgrab.
Interactive mode
The simplest mode of dvgrab is interactive mode. It is started with the -i option. This mode allows you to interact with the camcorder live, for example by asking it to play or stop a video on the fly.
It is the PC, which will control the camcorder via the FireWire cable.
aryliin@koala:~$ sudo dvgrab -i
Found AV/C device with GUID 0x00804580507210cf
Going interactive. Press '?' for help.
"Playing Paused" 00:05:48:06 ""          sec
dvgrab will display Playing paused, to let you know that playback is paused, along with the corresponding timestamp. From now on, by pressing the corresponding button, you will be able to:
- c : starts capturing and recording videos to disk,
- esc : stop what you are doing, for example stop rewinding the tape, which will then show you Winding stopped,
- p : start playing your tape on the small screen of your camcorder,
- a : rewind your tape, dvgrab will display Winding reverse,
- q : quit.
The videos will be saved in files named dvgrab-number.dv, at the root of the directory where you launched the tool. The number incrementing each time you take a new capture.
Simple command line
Since you may also just want to go for a coffee and come back later, and it was all done while you were away, you can also use dvgrab without interactive mode.
Each time you have shot something with your camcorder and then stopped shooting, a different scene has been created in the MiniDV tape. dvgrab is able to find these scenes and create a different file for each of them.
The software has many options, but personally I find it convenient to use the following options:
--autosplit: created one file for each scene on the tape,--timestamp: indicates the timestamp of the video in the file name.- output file name: for each scene extracted,
dvgrabwill create a file whose prefix will be the name provided, to which it will append the scene's timestamp.
The command to ask dvgrab to fully digitize the tape, creating one file per scene, and appending the timestamp to the file name, prefixed by mytape is therefore as follows:
aryliin@koala:~$ sudo dvgrab --autosplit --timestamp mytape
Found AV/C device with GUID 0x00804580507210cf
Waiting for DV...
Capture Started
"mytape2004.11.06_23-33-11.dv":   253.78 MiB  1848 frames timecode 00:03:08.21 date 2004.11.06 23:34:25
"mytape2004.11.07_16-30-30.dv":   830.84 MiB  6050 frames timecode 00:07:10.21 date 2004.11.07 16:34:32
"mytape2004.11.07_16-35-41.dv":     2.47 MiB    18 frames timecode 00:07:11.14 date 2004.11.07 16:35:42
"mytape2004.11.07_17-21-20.dv":   128.95 MiB   939 frames timecode 00:07:49.03 date 2004.11.07 17:21:57
"mytape2004.11.07_17-22-12.dv":   106.70 MiB 777 frames timecode 00:08:20.05 date 2004.11.07 17:22:43
And after?
Unlike analog tapes, recovering videos from MiniDV tapes is quite easy. No more having to start your movie on one side and your recording on the other, and no more trimming videos either.